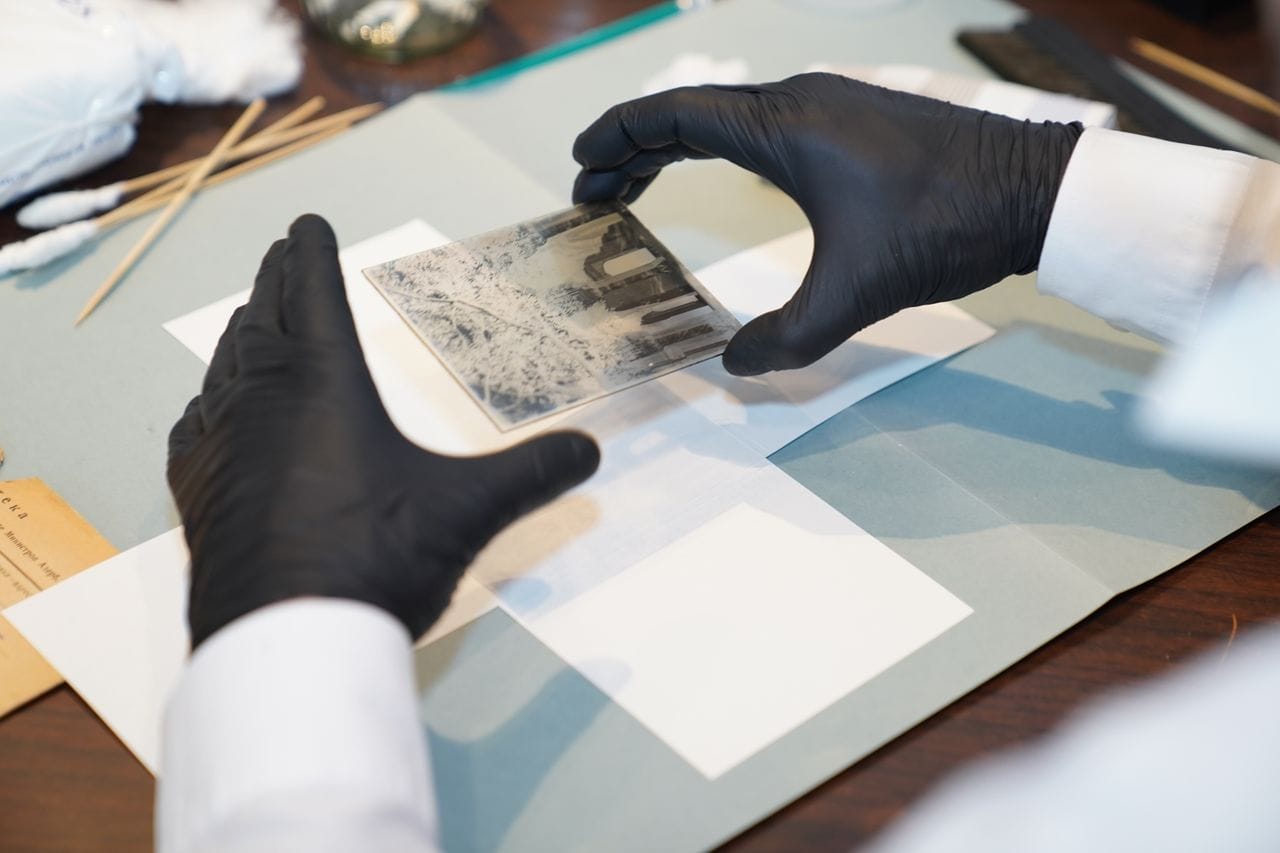
If you’ve been thinking about having old family photos restored, you’ve probably asked yourself some version of this question: what exactly am I paying for?
Photo restoration is one of those services where the process is largely invisible to the person receiving it. You hand over a damaged photograph and you get back something that looks different — hopefully dramatically better. But what happened in between?
This post is the honest, detailed answer to that question. What professional photo restoration actually includes, what the process looks like from beginning to end, and what you can realistically expect when you work with someone who does this well.
Step One: Assessment
Before any restoration work begins, the first step is an honest assessment of what you have and what’s possible.
Not every damaged photograph can be fully restored. Not every restoration job is the same. The assessment phase is about understanding the specific condition of your photographs, identifying the types of damage present, and giving you a realistic picture of what restoration can and can’t achieve for your particular images.
A good restoration professional will be honest with you at this stage. If a photograph has deteriorated beyond what restoration can meaningfully address, you deserve to know that before money changes hands. If a photograph has more potential than it appears at first glance, the assessment is where that becomes clear.
Assessment typically involves examining the physical photograph, scanning a test area if needed, and discussing your goals — what matters most to you about this image, what you’re hoping to do with the restored version, and what level of intervention feels right for something that is, ultimately, a family document rather than a commercial product.
Step Two: High-Resolution Scanning
Once the assessment is complete and the work is agreed upon, the process begins with scanning.
The original photograph is scanned at high resolution — typically 600 to 1200 DPI or higher depending on the size of the original and the level of detail needed for restoration work. The scan captures every element of the current image, including damage, in fine detail.
This scan becomes the working file for all restoration. The original photograph is not altered — it remains in whatever physical state it was in when you brought it in, and it’s returned to you along with the digital files.
The quality of the scan matters enormously for the quality of the restoration. A low-resolution scan limits what restoration can achieve, even with skilled work. High-resolution scanning is not optional — it’s the foundation everything else is built on.
Step Three: The Restoration Work
This is the labor-intensive part of the process — and the part that varies most widely in quality between different restoration providers.
Professional photo restoration is primarily manual work. Not a filter or a preset applied to the image, but skilled, deliberate work on specific areas of damage using specialized tools.
What this work might include, depending on your specific photograph:
Dust and scratch removal — carefully cleaning surface marks that are obscuring the image without affecting the underlying detail.
Tear and crease repair — reconstructing image information in damaged areas based on surrounding context, using cloning, healing, and content-aware reconstruction techniques.
Fading correction — recovering tonal range and density in faded areas, restoring contrast and detail that has been lost to age.
Color correction — addressing color shifts and casts in older color photographs, recovering the original color balance as closely as possible.
Stain and spot removal — reducing or eliminating surface staining, foxing, and water damage marks.
Detail enhancement — carefully sharpening soft areas and recovering edge detail where possible without introducing artificial sharpening artifacts.
The time this takes varies enormously. A photograph with minor damage might take an hour or two. A severely damaged image requiring significant reconstruction might take many hours of careful, skilled work. Restoration pricing reflects this time investment — and price differences between providers often reflect real differences in the amount of work done and the skill applied.
Step Four: Review and Approval
Before the restoration is finalized, you should have the opportunity to review the work and request adjustments.
This might be a digital proof sent for approval, or for more significant work, an in-person review. Either way, the restoration should be shown to you before it’s complete — not handed over as a finished product you have no input on.
This review stage is where you might ask for adjustments to the level of intervention (more restoration or less, depending on your preference), specific areas you want addressed differently, or choices about how to handle areas where the original image information was genuinely lost.
Step Five: Delivery
The final delivery of a restoration project typically includes a high-resolution digital file of the restored image, suitable for printing at large sizes, as well as the return of your original photograph.
Depending on what you’ve ordered, delivery might also include prints — the restored image printed at whatever size makes sense for how you want to display or preserve it.
I also provide the option of printing on archival materials — papers and inks designed to last generations rather than years. For a restored image that represents significant family history, the quality of the printing matters as much as the quality of the restoration.
If you have photos you’d like to explore restoring, reach out and tell me a little about what you have. I’ll give you an honest assessment of what’s possible and what the process would look like for your specific images.
What to Look for in a Restoration Provider
Since photo restoration is a service where the quality difference between providers is significant but often invisible until you see the results, here’s what I’d encourage you to look for.
Ask to see examples of their restoration work — before and after comparisons of photographs similar in type and damage level to yours. Portfolio examples tell you more than any description of process.
Ask about their scanning process and resolution. Low-resolution scanning is a red flag for quality limitations regardless of how skilled the restoration work is.
Ask how they handle the restoration — manually, with automated tools, or a combination. Fully automated restoration (AI-only tools) can address simple fading but struggles with complex damage reconstruction. Manual work is slower and more expensive, but produces better results for significantly damaged photographs.
And ask about the assessment process. A provider who gives you a quote without examining your specific photographs is either very experienced at pattern-matching from descriptions or is giving you a number that may not reflect the actual work involved.
Restoration done well is worth it. The images it recovers are irreplaceable. But the quality of the work matters enormously — and understanding what the process actually involves helps you evaluate whether what you’re being offered is worth what you’re being charged.
📝 CTA NOTE — BOOKING — Natural
The CTA is woven naturally into the post body above. Here is the exact text for reference:
“If you have photos you’d like to explore restoring, reach out and tell me a little about what you have. I’ll give you an honest assessment of what’s possible and what the process would look like for your specific images.”