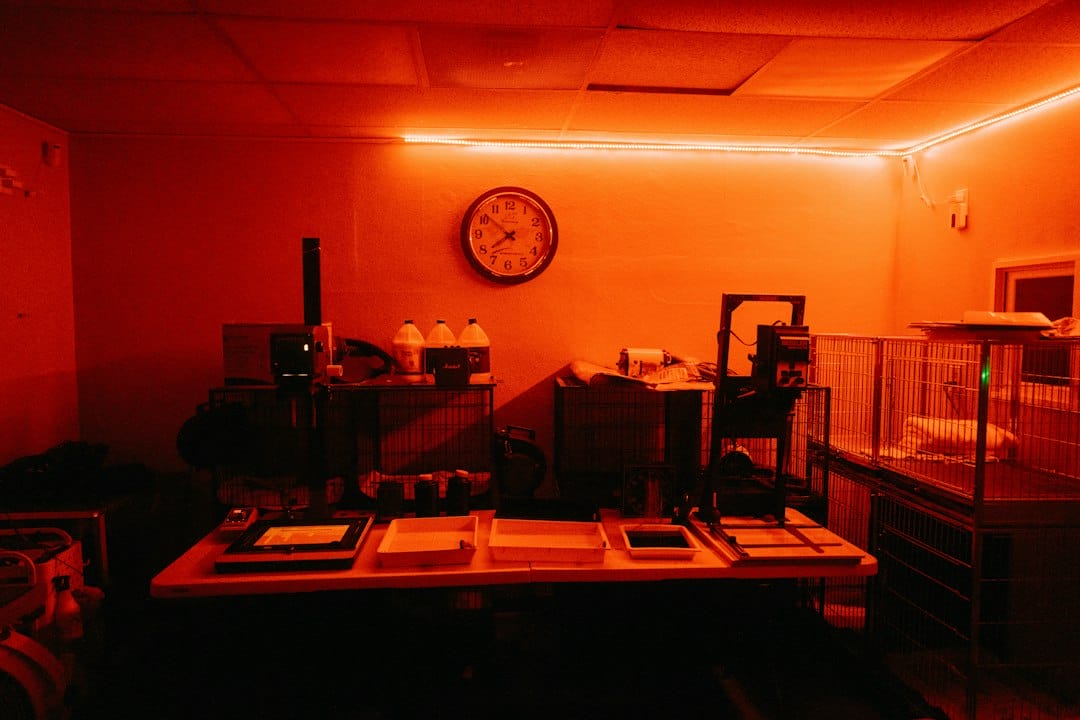
When people ask about my darkroom classes, the first question is almost always some version of: ‘But what do I actually make?’
It’s a fair question. Darkroom photography is one of those things that sounds abstract until you’ve done it. So here’s a concrete look at what students make in an introductory darkroom session at The Saint Paul Darkroom — print by print.
Print One: Your First Contact Sheet
We start with a contact sheet — a print made by laying a strip of negatives directly on photographic paper and exposing it under the enlarger. The result is a full sheet of tiny images at 1:1 scale from your negatives. This is how photographers have always edited film: you study the contact sheet under a loupe, identify the frames worth printing, and work from there.
Print Two: Your First Test Strip
Before you make a full print, you make a test strip — a small section of photographic paper exposed in increments to find the right exposure time. The test strip teaches you that darkroom printing is empirical. You’re not guessing — you’re gathering data and responding to what you see.
Print Three: Your First Real Print
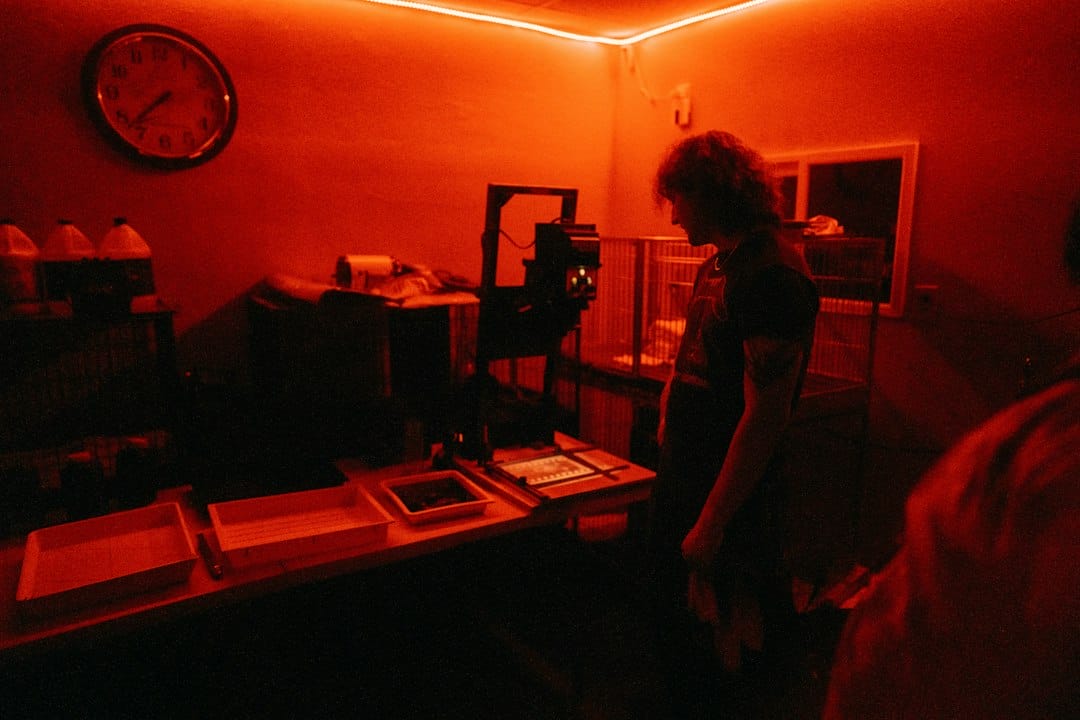
Using the exposure information from your test strip, you make your first full print. You place the paper in the easel, expose it under the enlarger, and then move it through the chemical trays: developer, stop bath, fixer.
Watching the image appear in the developer is the moment that gets people. It’s slow — thirty seconds to a minute — and you watch it emerge out of nothing. Even photographers who’ve been shooting digitally for years find this genuinely moving.
What You Take Home
At the end of a session, students take home their prints — physical objects they made with their hands from images they shot on film. The Saint Paul Darkroom opens November 1st. If you want to be first in the door for introductory darkroom sessions, get on the list now — space is limited and the first sessions fill fast.