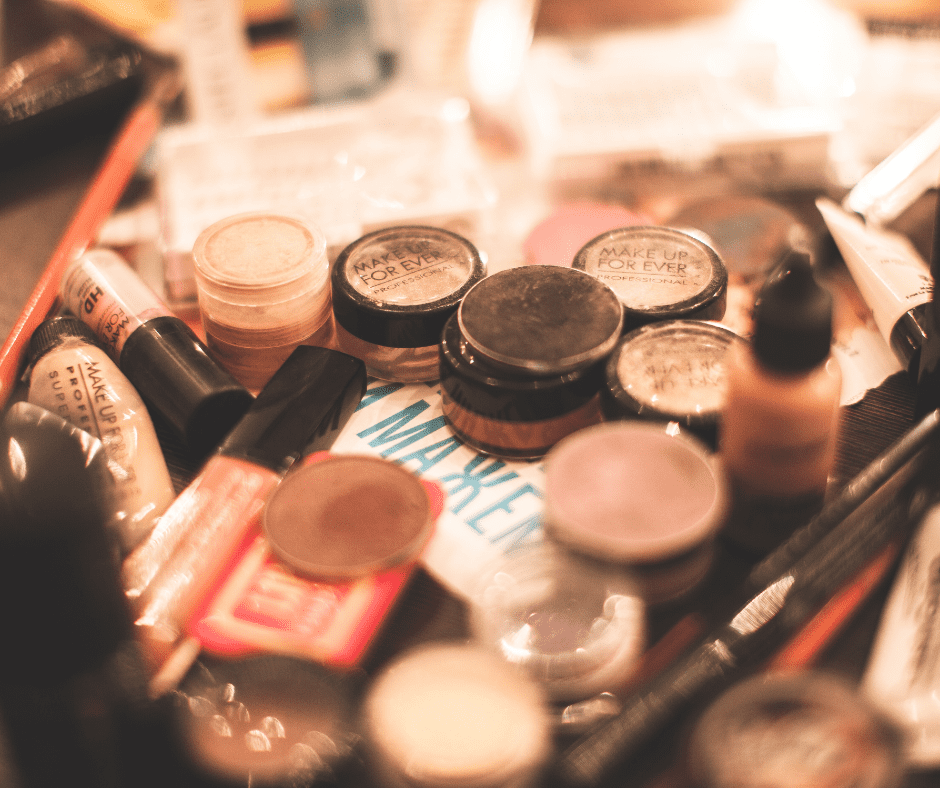
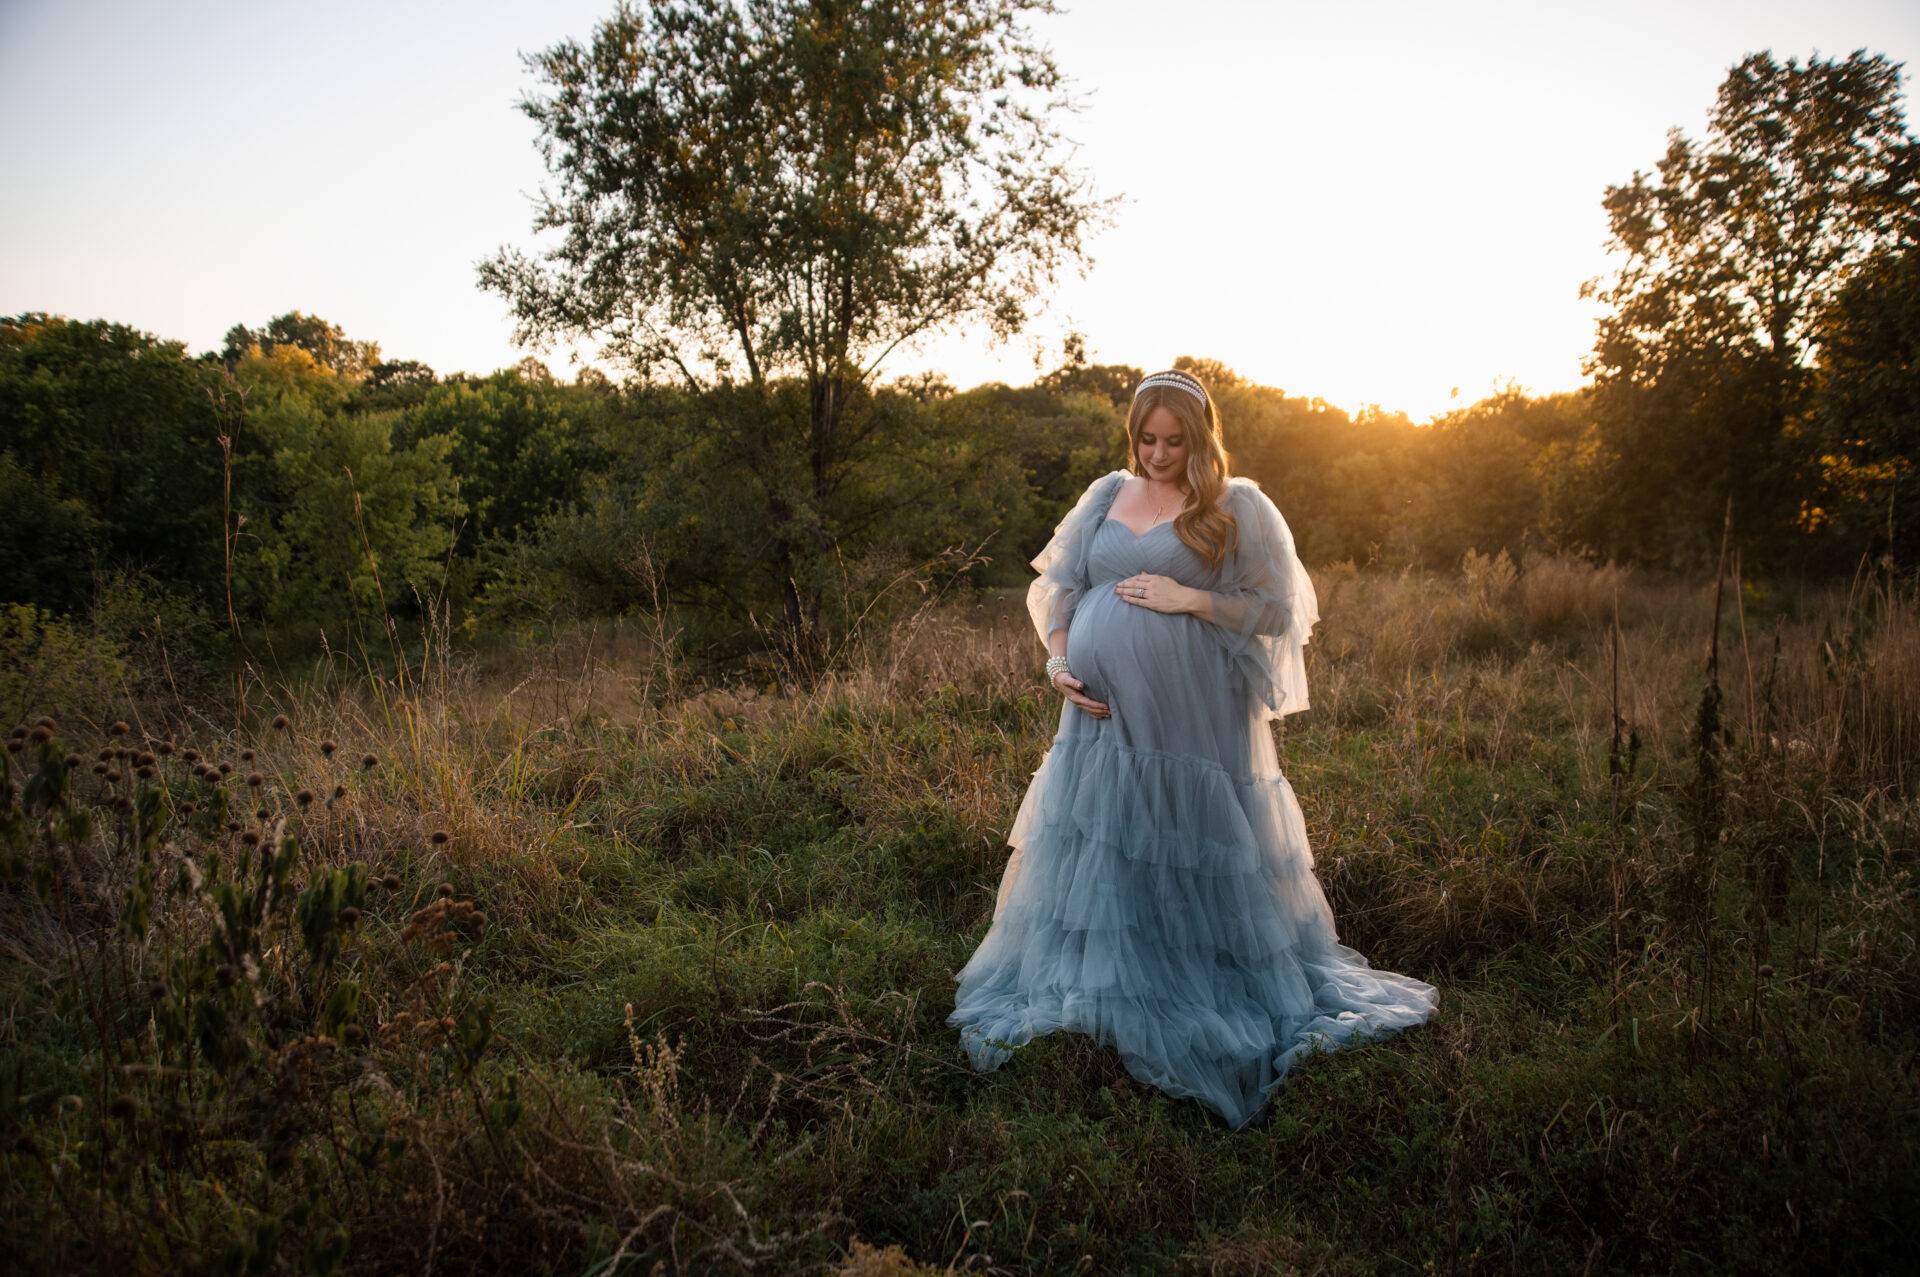
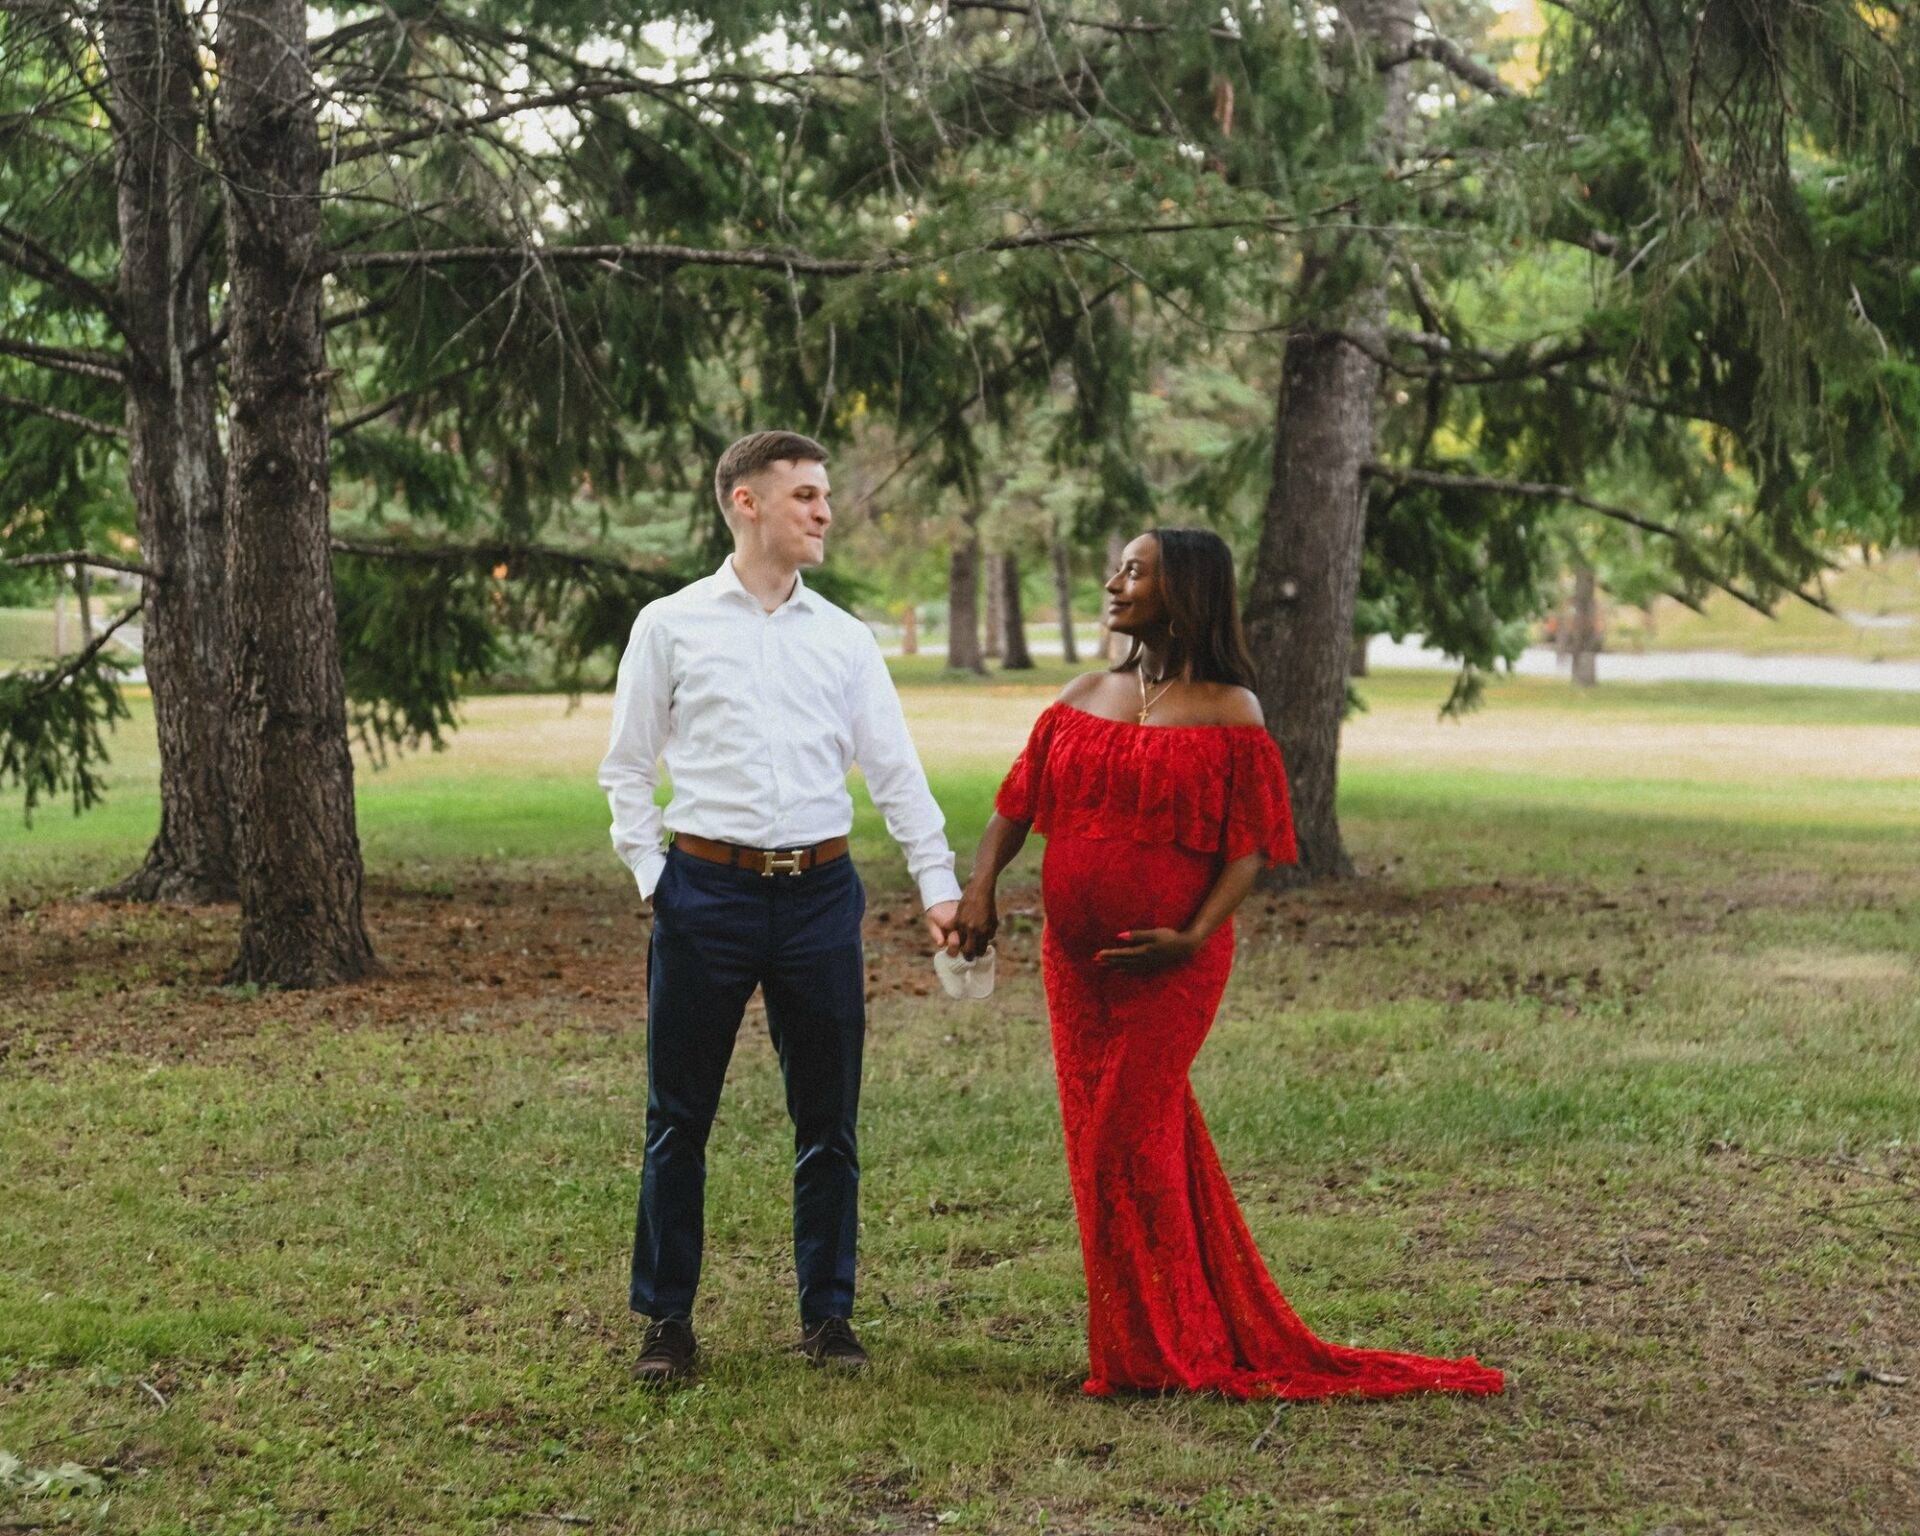
Congratulations on your upcoming maternity photoshoot! It’s a magical time, and capturing these precious moments through photography is a beautiful way to celebrate and preserve them. When it comes to your makeup, there are two distinct approaches you can take: a natural, glowy look or a glamorous look. In this comprehensive guide, we’ll explore both options, providing step-by-step instructions to achieve each style. Additionally, at our boutique studio, we offer a full-service experience that includes a professional hair and makeup artist, should you prefer not to do your own makeup.
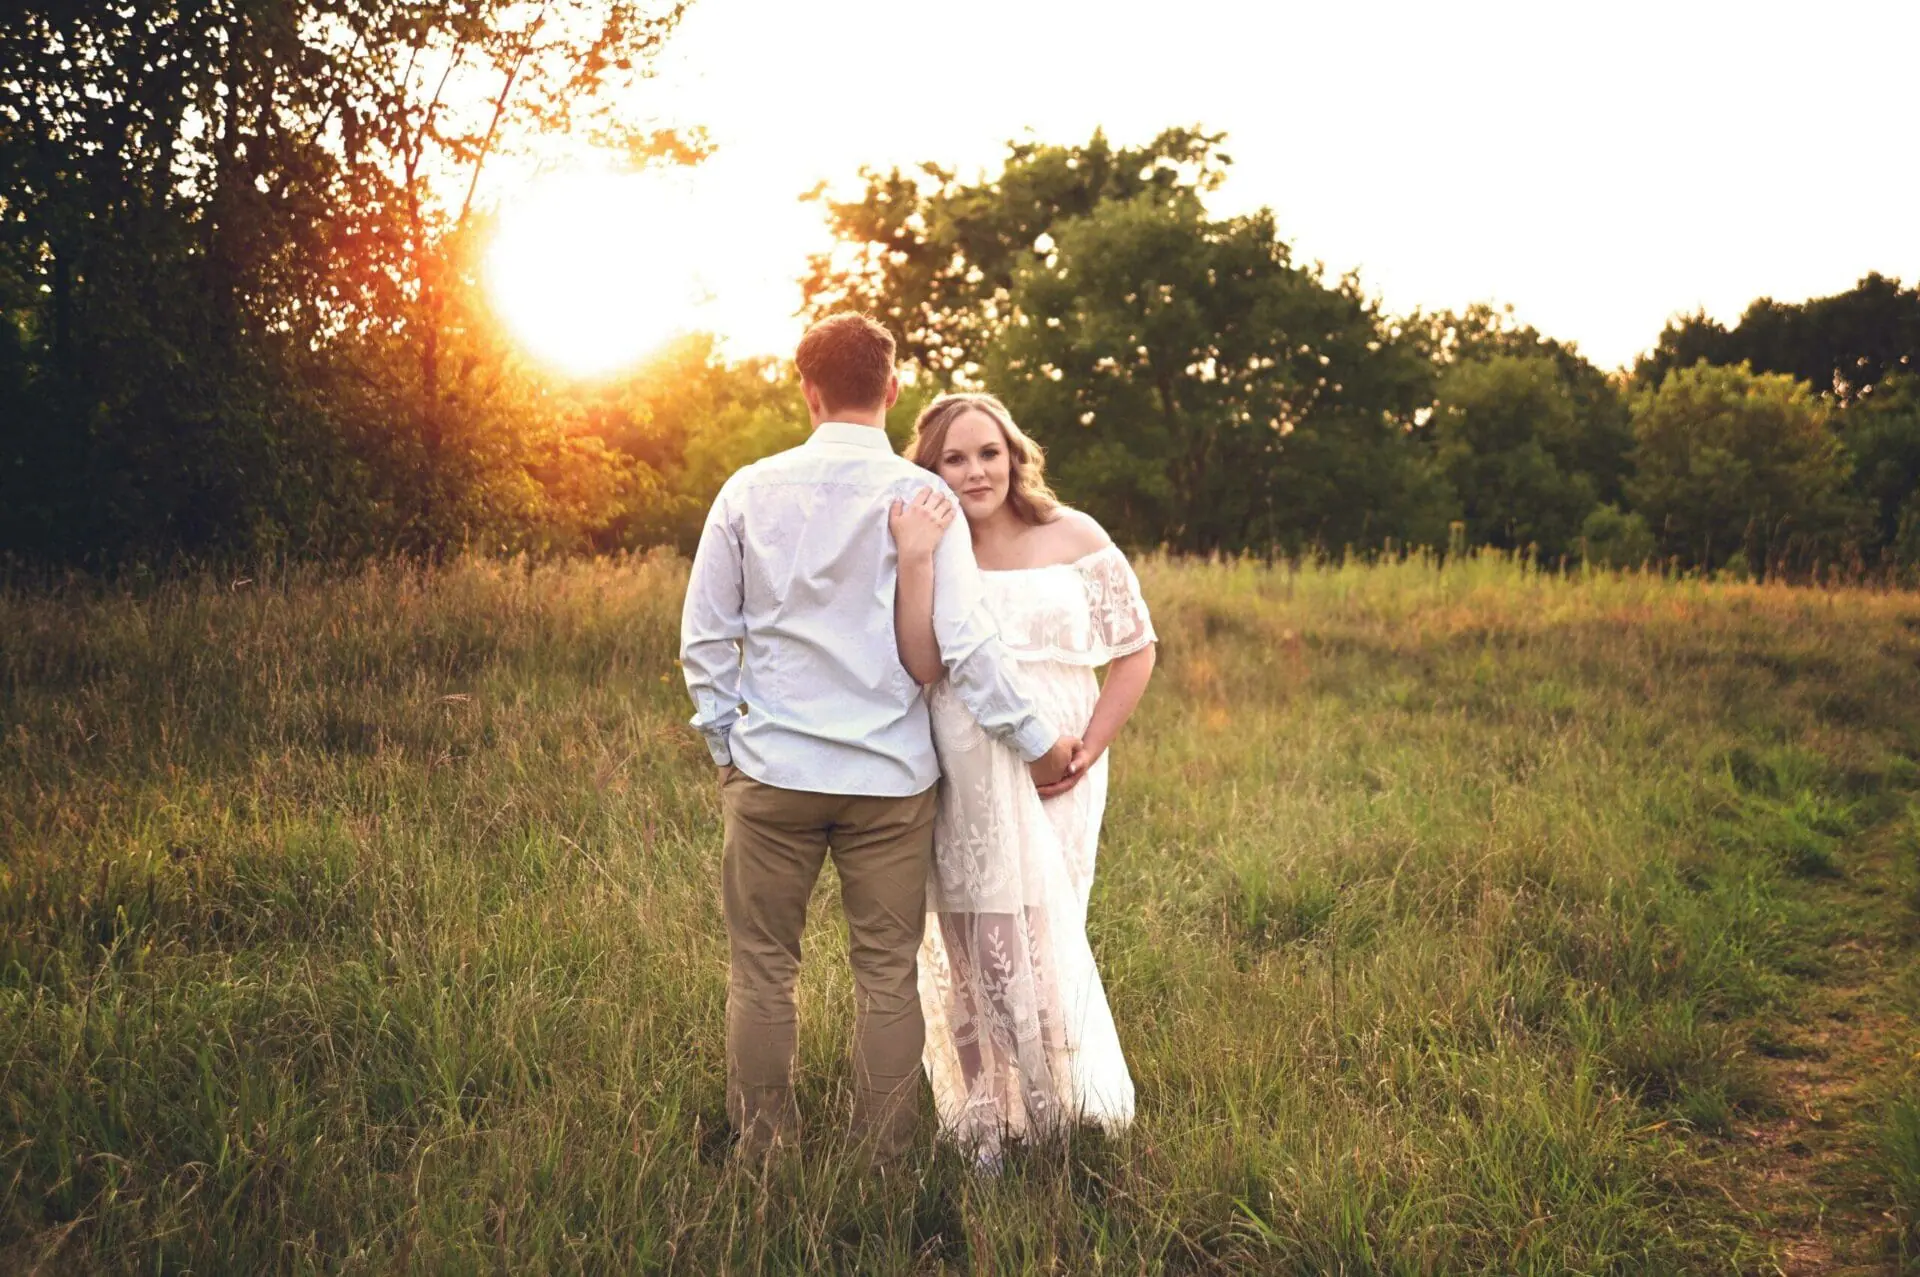
Part 1: The Natural, Glowy Look
Prepping Your Skin: Before applying any makeup, start with a clean canvas. Cleanse your face to remove any impurities, followed by gentle exfoliation to reveal a fresh complexion. Hydrate your skin with a moisturizer and apply a primer to create a smooth base for your makeup.
Creating a Flawless Base: For a natural look, opt for a lightweight, radiant finish foundation or a tinted moisturizer. Use a damp beauty blender or a foundation brush to blend the product into your skin, ensuring an even application. Conceal any blemishes, dark circles, or redness with a creamy concealer and blend it seamlessly into your foundation. Set your base with a translucent powder, focusing on the T-zone and areas prone to shine.
Illuminating the Eyes: Enhance your eyes with a soft and luminous touch. Apply a neutral eyeshadow shade all over your eyelids, opting for soft, earthy tones that complement your skin tone. Use a slightly darker shade to define the crease for added dimension. Apply a thin line of eyeliner close to your upper lash line for subtle definition. Curl your lashes and apply a coat or two of mascara to make your eyes pop. If desired, apply a champagne or gold-toned highlighter to the inner corners of your eyes to create an awakened look.
Enhancing Your Cheeks: For a natural glow, apply a natural-looking blush to the apples of your cheeks. Choose shades like peach or rosy pink that complement your skin tone and blend it outwards for a subtle flush of color. If desired, lightly dust a luminous powder or a cream highlighter onto the high points of your cheeks for a radiant finish.
Lips and Finishing Touches: Complete your natural, glowy look with a lip color that enhances your natural lip shade. Opt for a tinted lip balm or a sheer lipstick in shades like rosy pinks, soft corals, or nude tones. These hues will provide a soft and feminine touch to your overall look. Finish by lightly misting your face with a setting spray to ensure your makeup stays in place throughout the photoshoot.
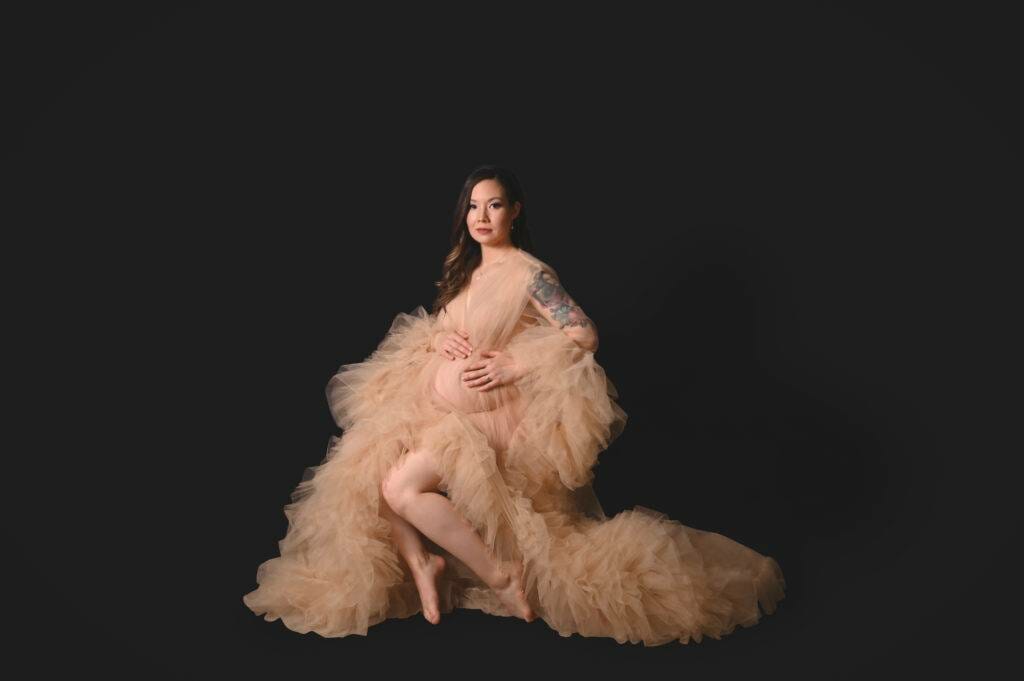
Part 2: The Glamorous Look
Preparing Your Canvas: Begin with a well-prepped canvas. Cleanse your face and exfoliate gently to create a smooth and fresh complexion. Apply a moisturizer to hydrate your skin, followed by a primer to minimize the appearance of pores and fine lines.
Creating a Flawless Base: For a glamorous look, opt for a medium to full coverage foundation that matches your skin tone. Use a foundation brush or a damp beauty blender to apply the foundation, ensuring a seamless and even finish. Conceal any blemishes, dark circles, or discoloration using a full coverage concealer. Set your base with a setting powder to prevent any shine or creasing.
Eyes That Mesmerize: For a glamorous eye makeup look, start by applying a neutral eyeshadow shade as a base. Build depth by adding a darker shade to the crease and outer corner of the eyes. Next, choose a shimmering or metallic eyeshadow and apply it to the center of your lids for a touch of glamour. Define your eyes with a winged eyeliner or a smoky eyeliner look. Apply several coats of volumizing mascara or consider using false lashes to enhance the drama and intensity.
Contour and Highlight: To sculpt and define your features, use a contour powder or cream to add depth to your cheekbones, temples, and jawline. Blend it well for a natural effect. Apply a luminous highlighter to the high points of your face, including the cheekbones, brow bone, and cupid’s bow. This will add a radiant glow to your complexion and catch the light beautifully in your photos.
Statement Lips: A glamorous look is often paired with bold and captivating lips. Choose a lipstick shade that complements your skin tone and opt for bold reds, deep berries, or vibrant pinks. Outline your lips with a lip liner to create a crisp and defined shape. Fill in your lips with the chosen lipstick shade, ensuring an even application. For added longevity, blot your lips with a tissue and reapply the lipstick for a rich and intense color.
Finishing Touches: To set your glamorous makeup look in place, lightly mist your face with a setting spray. This will ensure longevity and help your makeup withstand the duration of the photoshoot. Finally, remember to bring along a few touch-up essentials, such as your lipstick and blotting papers, for any necessary on-the-go fixes.
Whether you choose a natural, glowy look or a glamorous look for your maternity photoshoot, the key is to feel confident and radiant. By following these step-by-step instructions, you can master the art of doing your own makeup and create a stunning look that enhances your beauty during this special time in your life. However, if you prefer to have a stress-free experience or want to explore more intricate makeup styles, remember that at our boutique studio, we offer a full-service experience that includes a professional hair and makeup artist. Whatever option you choose, we wish you a memorable and beautiful maternity photoshoot! If you are interested in learning more about our maternity sessions, click here to view the collections I offer.
