As a new photographer, stepping into the world of manual mode can feel overwhelming at first. It might seem easier to rely on automatic settings, but learning how to control your camera manually opens up a world of creativity and precision that is simply not possible with auto modes. This guide will focus on why manual control is essential, give you a brief overview of exposure, aperture, and shutter speed, and illustrate how manual mode differs from relevant automatic settings.
Importance of Manual Control
Manual control gives you the ability to capture images just as you envision them. One of the greatest joys of photography is expressing your artistic vision, and this begins with mastering the controls of your camera. Consider this: you are standing in front of a breathtaking sunset, the sky ablaze with hues of orange and purple. If your camera is set to automatic, it will try to calculate the correct exposure based on the overall light in the scene. Often, this results in a washed-out image, losing the very essence of the breathtaking colors you want to capture.
When you rely on manual mode, you take full creative control:
- Experimentation: Manual settings enable you to try different combinations of exposure, aperture, and shutter speed.
- Consistency: Once you find a setting you love, you'll be able to replicate it across different shoots and lighting conditions.
- Skill Development: Mastering manual mode will deepen your understanding of photography fundamentals and help you become a more skilled shooter.
A Brief Overview of Exposure, Aperture, and Shutter Speed
To master manual photography, you need to get comfortable with three core concepts: exposure, aperture, and shutter speed, often referred to as the “exposure triangle.” Each component affects the others, and they work together to determine the final image.
1. Exposure
Exposure is the total amount of light that reaches your camera sensor. It can be manipulated through the aperture, shutter speed, and ISO settings. The goal of exposure is to capture the right amount of light to illuminate your scene without overexposing (bright, washed-out areas) or underexposing (dark, unclear areas) your photo.
2. Aperture
Aperture refers to the size of the opening in your lens that lets light in. It is measured in f-stops (e.g., f/2.8, f/4, f/5.6). A lower f-stop means a larger aperture, allowing more light in, while a higher f-stop reduces the aperture size, letting less light in. Here’s how it impacts your images:
- Depth of Field: A wide aperture (e.g., f/2.8) results in a shallow depth of field, causing the background to blur while keeping the subject sharp—great for portraits.
- Sharpness Across the Frame: A narrower aperture (e.g., f/16) increases the depth of field, which is ideal for landscapes where you want everything in focus.
3. Shutter Speed
Shutter speed controls how long the camera's sensor is exposed to light. It's measured in seconds or fractions of a second (e.g., 1/1000s, 1/60s). The effects of shutter speed include:
- Motion Blur: A slower shutter speed (e.g., 1/30s) can create a blurred effect from movement, while a fast shutter speed (e.g., 1/1000s) freezes motion, capturing sharp images of fast-moving subjects.
- Light Exposure: A slower shutter speed allows more light in, beneficial in low-light conditions, but risks overexposure if the light is too bright.
How Manual Mode Differs from Automatic Settings
The fundamental difference between manual mode and automatic settings revolves around control. When your camera is in automatic mode, it makes decisions based on its built-in algorithms and sensor readings. While this is convenient, it has several drawbacks:
- Lack of Creative Control: In automatic modes, you may struggle to achieve the exact effect or feel you want, especially in challenging lighting conditions.
- Inconsistent Results: Changing lighting conditions can cause your camera to adjust settings unpredictably, leading to inconsistent exposure across photos.
- Unpredictable Depth of Field: In automatic mode, you have less control over how much of your image is in focus, making it difficult to achieve the desired artistic effect.
In contrast, manual mode empowers you to take control of your photography by allowing you to make deliberate choices. For instance:
- Decide exactly how much light to let in using your chosen aperture, shutter speed, and ISO.
- Create consistent images, even across different lighting settings, because you set the parameters.
- Manage creative outcomes by adjusting depth of field or freezing motion based on your artistic intent.
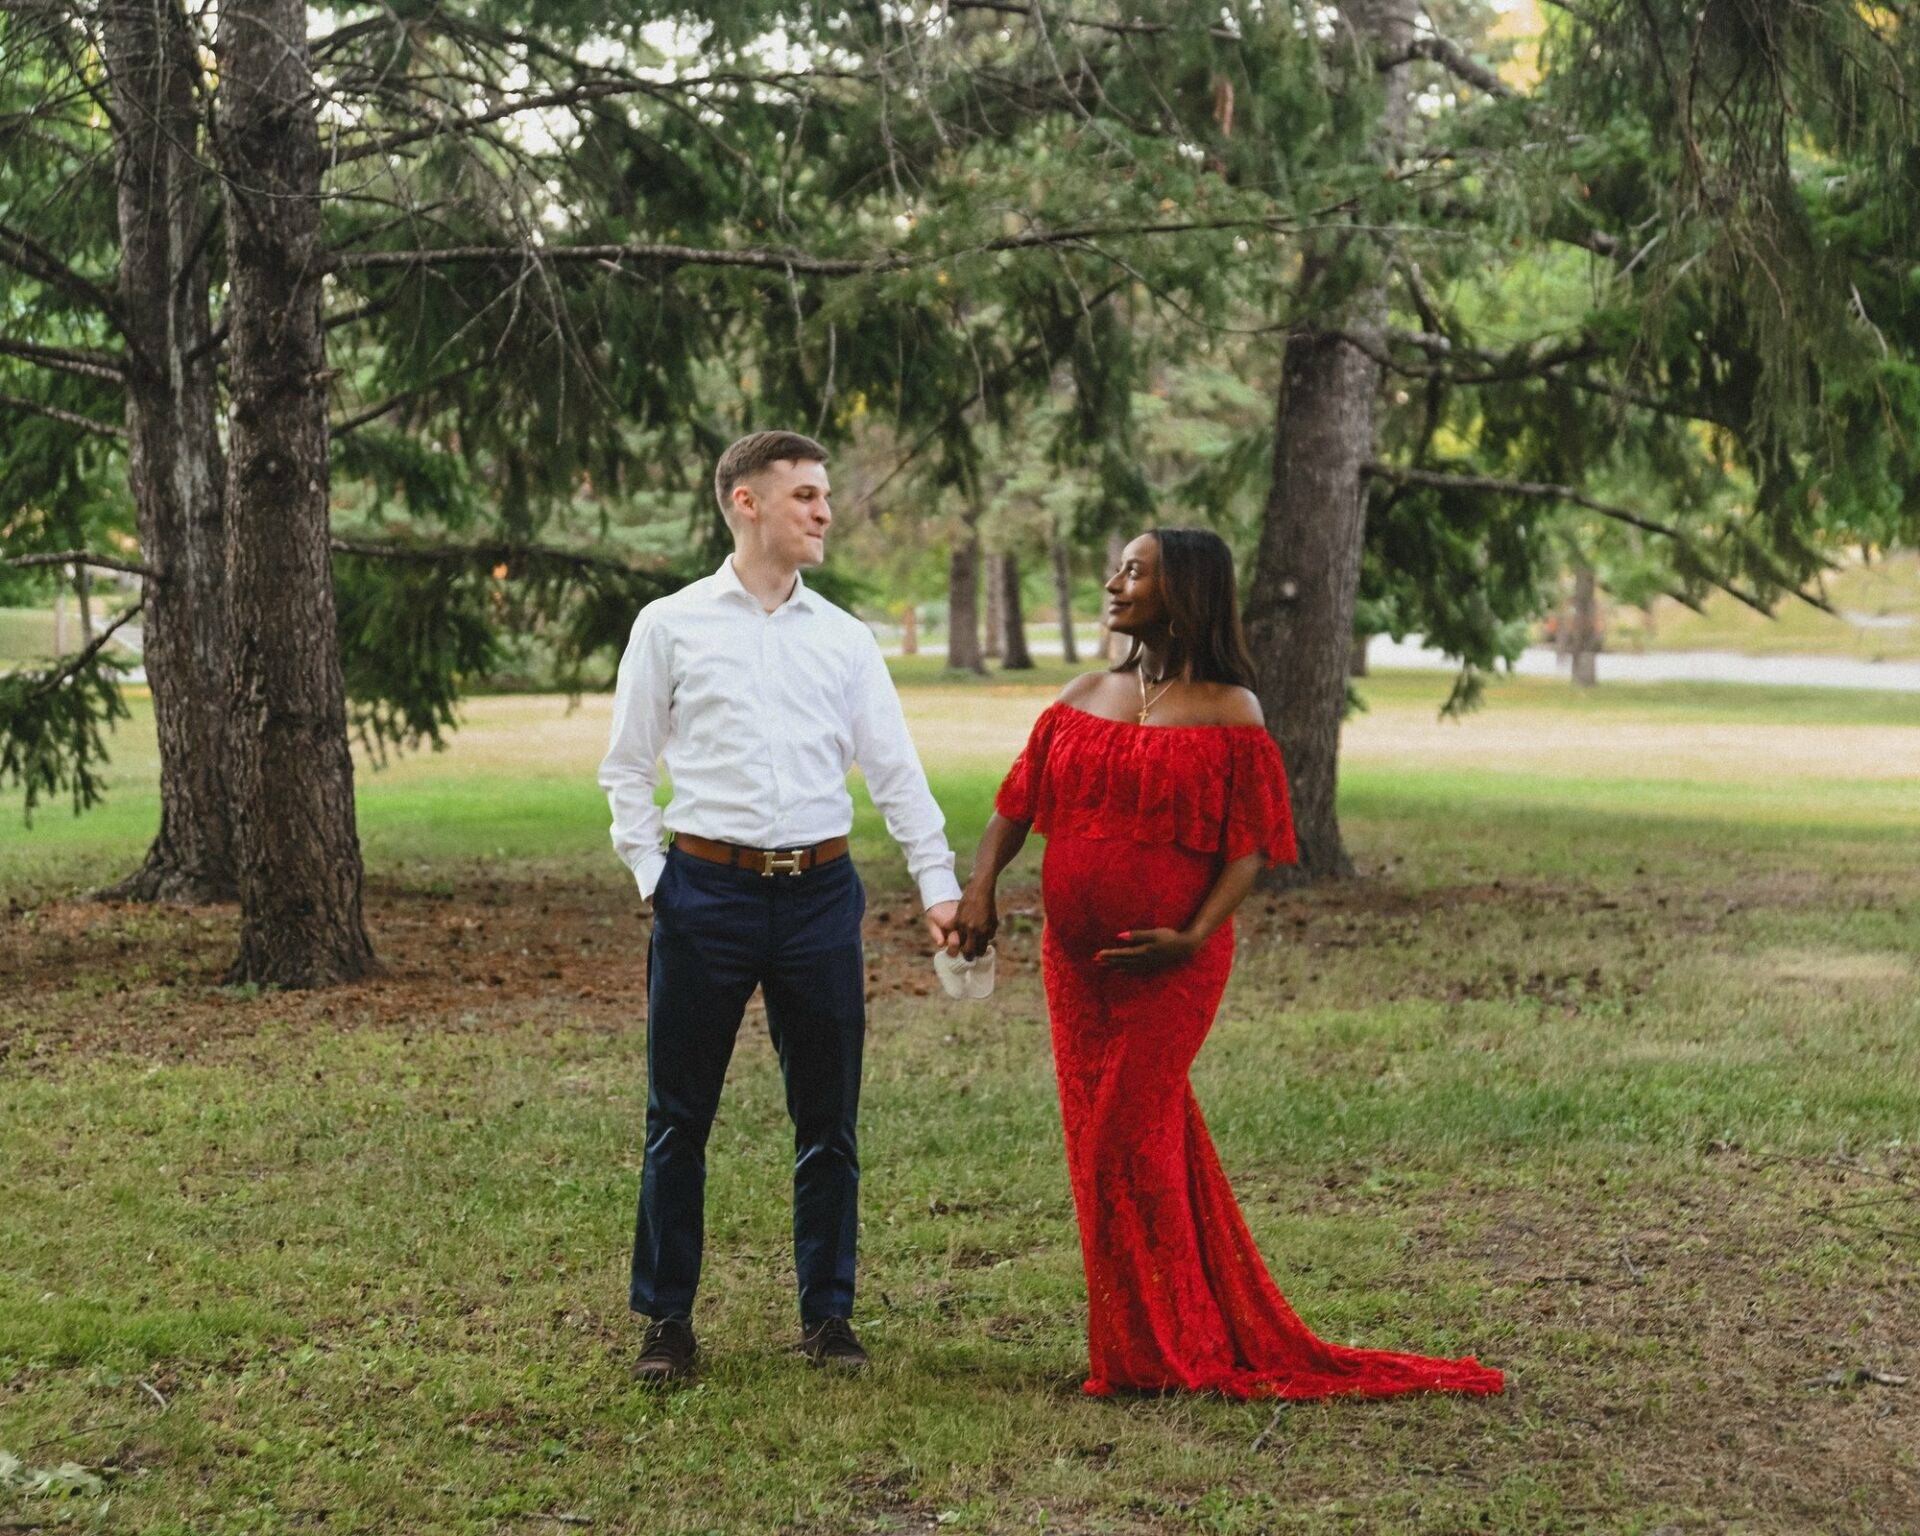
To help illustrate this concept, consider a practical scenario. You are taking a portrait of a friend in a park during golden hour. In automatic mode, your camera reads the entire scene—the bright sky and various green hues—and chooses an exposure that may not flatter your friend. However, by setting the camera to manual, you can open the aperture to f/2.8, allowing the background to blur and your subject to pop, while adjusting the shutter speed accordingly, possibly slowing it down to avoid underexposure.
Shooting in manual mode may require practice, and at times, you may need to think critically about which settings to adjust first. It can help to follow the interplay of trends in exposure, aperture, and shutter speed. Don’t be afraid to make mistakes; they are part of the learning process. Most importantly, have fun with it! The beauty of photography is that it allows you the freedom to express yourself creatively.
To wrap things up, engaging with your camera in manual mode elevates your skills as a photographer. The path may seem challenging at new beginnings, but with persistent practice and understanding of how exposure, aperture, and shutter speed interplay, you will gain a confidence that translates into stunning images, uniquely yours.
Steps to Shoot in Manual Mode
As you embark on your journey to mastering photography, understanding how to shoot in manual mode is crucial. Manual mode allows you to have complete control over the exposure settings of your camera. This section walks you through the essential steps to help you set your camera, adjust settings, and achieve beautifully exposed photographs.
Setting Your Camera to Manual Mode
The first step towards taking control of your photography is to set your camera to manual mode. Most digital cameras, whether DSLR or mirrorless, have a dial on the top that lets you switch modes. Look for the “M” setting on the dial.
- Locate the control dial: It is usually positioned on the top of your camera. Turning it to ‘M’ signifies that you are ready for manual adjustment.
- Understand your camera: Each brand might have slight variations in features, so referring to your camera’s manual can be beneficial at this point.
- Practice switching modes: Familiarize yourself with switching to manual mode quickly, so if any unexpected moments arise, you can be ready to capture them.
Adjusting Aperture and Shutter Speed
Once you’re in manual mode, the next two critical elements to adjust are the aperture and shutter speed. These two settings work together to determine how light enters your camera and ultimately how your images turn out.
Aperture
The aperture refers to the opening in your lens through which light passes. It is measured in f-stops (for example, f/2.8, f/4, f/5.6). A lower f-stop value means a larger opening, allowing more light, while a higher f-stop means a smaller opening.
- Choose the right aperture: For portraits, a wider aperture (like f/2.8) creates a shallow depth of field, producing a beautiful background blur. For landscapes, a smaller aperture (like f/8 or f/11) allows more of the scene to be in focus.
- Experiment with depth of field: Try different f-stop values to see how they affect your images. This hands-on practice will deepen your understanding.
Shutter Speed
The shutter speed determines how long the camera's shutter remains open when taking a shot. It's measured in seconds or fractions of seconds (for example, 1/1000, 1/60, 2"). Faster shutter speeds freeze motion, while slower speeds can create a motion blur.
- Utilize the right shutter speed: When photographing fast-moving subjects, such as a runner or a bird in flight, opt for a higher shutter speed (1/1000 or faster). For slower subjects or to create motion blur (like flowing water), use a slower shutter speed (1/30 or slower).
- Practice steadying your camera: When using slower speeds, it’s crucial to avoid camera shake. Consider using a tripod to stabilize your camera for longer exposures.
Remember, adjusting aperture and shutter speed goes hand-in-hand. Learning how these two settings work together is essential for achieving the desired exposure. If you make one adjustment, you often need to compensate with another to maintain proper exposure.
Finding the Right ISO Setting
The ISO setting controls your camera's sensitivity to light. In bright conditions, you can use a low ISO (like 100), while in low-light situations, you may need a higher ISO (like 1600 or 3200). However, higher ISO settings can introduce noise (graininess) into your images, so caution is required.
- Assess your environment: Take a moment to evaluate your shooting environment. If it's bright, keep your ISO low; in darker conditions, increase it as necessary. Remember, balancing ISO with aperture and shutter speed is vital.
- Utilize the histogram: Most cameras display a histogram that helps you understand exposure levels. Check to see if your image is underexposed (shifted to the left) or overexposed (shifted to the right) and adjust your ISO accordingly.
Practical Example of Exposure Triangle
Your camera's exposure triangle consists of three core settings you must balance: aperture, shutter speed, and ISO. Here's a quick illustration:
Setting Low Setting High Setting Aperture (f-stop) f/1.8 f/16 Shutter Speed 1/4000 s 2 s ISO 100 3200
Putting It All Together
As you practice shooting in manual mode, one key point to remember is that photography is an art form, not a rigid set of rules. Experimentation is your best friend. Don’t be afraid to try different settings to see how they affect your images. Take notes if needed, so you can return to specific settings that work well for certain scenes.
Consider shooting in a variety of light conditions: dawn, midday, dusk, and nighttime. Each scenario offers unique challenges in terms of exposure settings, and handling these challenges will vastly improve your skills.
It’s helpful to practice shooting in different environments: from nature settings to urban landscapes and interiors. Each genre presents its challenges, and an adept photographer learns to adapt quickly.
Common Challenges and Solutions
- Underexposure and Overexposure: If your images consistently turn out too dark or too bright, refer back to your histogram. Adjust your settings accordingly, perhaps increasing the ISO or wider aperture.
- Motion Blur: If you find your subjects are blurry, increase your shutter speed. A good rule of thumb is to match your shutter speed to the focal length of your lens to minimize blur.
- Noisy Images: If you notice graininess at higher ISO levels, consider using noise reduction techniques in post-processing, or adjust to a lower ISO setting if the light allows.
Finally, the joy of photography lies in the discovery process and personal interpretation. What works for someone else may not work for you, and that’s perfectly okay. In photography, your unique perspective and creativity will ultimately shine through in your images.
Practical Tips for New Photographers
Venturing into the world of photography can be both exhilarating and daunting; there’s so much to learn and explore. As you begin this journey, you may find that mastering your camera and its various settings is integral to capturing stunning images. Here, we will discuss practical tips tailored especially for you as a new photographer. By understanding how to utilize your camera’s light meter, engaging in specific exercises to improve your shooting skills, and embracing the learning process through trial and error, you'll lay a solid foundation for your photography prowess.
Using the Camera’s Light Meter
Understanding how to use your camera's light meter is essential in achieving well-exposed photographs. The light meter evaluates the brightness of the scene and suggests exposure settings. However, it’s important to grasp that the light meter has its limitations and can be influenced by various factors such as backlighting or reflective surfaces. Here are some insights into effectively utilizing your camera's light meter:
- Understanding Metering Modes: Most cameras offer different metering modes, including matrix metering (evaluative), center-weighted, and spot metering. Familiarize yourself with these modes to see how they react to different lighting conditions. For instance, spot metering can be particularly useful in challenging lighting situations, allowing you to measure just a small part of the scene.
- Pay Attention to Histogram: Along with the light meter, pay attention to the histogram displayed on your camera. It provides a graphical representation of the tonal values in your image. A well-balanced histogram should not be bunched up on the left (underexposed) or right (overexposed) side. Aim for a balanced spread, allowing you to see the entire tonal range present in your photo.
- Adjust Your Settings: Don’t solely rely on the automatic settings suggested by your light meter. Use it as a guide and adjust your aperture, shutter speed, and ISO accordingly. For example, if the meter suggests a shutter speed that feels too slow for your subject’s motion, increase the ISO or open up the aperture to allow more light in.
- Practice in Various Lighting Conditions: To become truly comfortable with your light meter, practice taking photos in different lighting settings — from bright sunlight to dimly lit interiors. This practice aids in developing your ability to assess light and exposure intuitively.
Practical Exercises to Improve Shooting Skills
Improving your photography skills requires consistent practice, and there are numerous practical exercises you can engage in. Here’s a set of exercises to help refine your shooting abilities:
- 30 Days of Photography Challenge: Consider committing to a 30-day photography challenge. Assign each day a theme or subject (e.g., “black and white,” “reflections,” “nature”). This exercise encourages you to think creatively and explore various styles while getting accustomed to your camera.
- Experiment with Depth of Field: Understanding depth of field is crucial for composing images effectively. Try shooting the same subject using different apertures to see how it affects the background blur. This exercise allows you to visualize the impact of depth on your images, enabling you to make more informed choices in the future.
- Observe and Mimic: Find photographs that inspire you—whether from renowned photographers or Instagram feeds—and try to replicate them. Pay close attention to composition, lighting, and settings used. This exercise can teach you a lot about technical skills and artistic choices.
- Set a Timer for Quick Shoots: To cultivate your decision-making process, set a timer for 10-15 minutes and shoot as many interesting images as you can within that time frame. This will help you become more spontaneous and enhance your ability to evaluate scenes quickly.
Learning Through Trial and Error
As with any skill, photography involves a fair bit of trial and error, and that's entirely okay. Embracing mistakes as learning opportunities is vital for your growth as a photographer. Here are some ways to approach learning through trial and error:
- Review Your Work Critically: After a shoot, take the time to review your images critically. Identify what worked well and what didn’t. Ask yourself questions like: Did I nail the focus? Was the exposure correct? Were the colors as vibrant as I envisioned?
- Keep a Photography Journal: Document your experiences, including successful shots and lessons from your failures. Note down the settings you used, the lighting conditions, and what you would do differently next time. This practice helps track your progress and serves as a reference for future shoots.
- Accept Feedback from Others: Seek out constructive feedback from fellow photographers or online communities. Sharing your work and receiving diverse perspectives can provide valuable insights and help you see your images from a different angle.
- Iterative Learning: If you notice recurring issues in your photography (e.g., underexposed images), set aside time to experiment with different techniques specifically aimed at addressing those difficulties. It might be tweaking your light settings, practicing with different lenses, or studying advanced composition techniques.
Remember that even the most seasoned photographers have their off days. Embracing the fact that growth is a continual process will keep your creative spirit alive. Each click of the shutter can lead to improvement, pushing you further along the journey of mastering your craft.
In sum, mastering your camera's light meter, engaging in targeted shooting exercises, and learning through trial and error are vital strategies on your photography journey. Integrate these practices into your routine, and you’ll be well on your way to capturing stunning images that resonate with your unique vision. Enjoy your photographic exploration and don't forget to have fun!
Conclusion: Embracing the Manual Adventure
Embarking on the journey from auto mode to manual mode in photography is more than just a technical shift; it's an exciting adventure that opens up a world of creative possibilities. As you transition to shooting in manual mode, you will discover not only new skills but also a deeper appreciation for the artistry of photography. Let's reflect on this incredible journey and the transformative potential it holds for you as a photographer.
Reflecting on Your Journey
When you first picked up a camera, the automatic settings provided comfort and simplicity. It was easy to let the camera handle the exposure and focus, allowing you to capture moments without worrying about the intricate details. However, as you delved deeper into photography, you may have felt that familiar tug of curiosity urging you to explore beyond the confines of auto mode. This curiosity is what has led you here — striving to master manual mode.
This transition might have felt daunting at first, with various settings to understand and technical jargon to decipher. Yet, the process of learning to shoot in manual mode has likely offered you profound insights into how photography works. You’ve learned that shutter speed, aperture, and ISO are not merely terms in a textbook — they are the tools you wield to express your unique vision. You've shifted from being a passive observer in your photography to an active creator who makes deliberate choices to achieve the desired results.
The Creative Freedom of Manual Shooting
Shooting in manual mode is akin to stepping into a world where your creative potential knows no bounds. Suddenly, the possibilities are endless; you are not restricted by the limitations of automatic settings. Think about the last time you felt truly in control while capturing an image. That moment of clarity, where everything clicked — the composition, the lighting, the emotion — is amplified in manual mode.
With manual settings, you have the ability to play with light and shadow, create depth within your frame, and manipulate the exposure to evoke specific moods. For instance, when you lower the shutter speed, you can capture the soft blur of a moving subject, conveying a sense of motion and energy. In contrast, a high shutter speed freezes a fleeting moment, showcasing every intricate detail.
Aperture settings allow you to control the depth of field, helping to frame your subject beautifully against a blurred background or ensuring everything remains in sharp focus. The ISO setting lets you manage your camera's sensitivity to light, which is particularly useful in low-light situations. This level of control empowers you to make creative choices that speak to your artistic style.
As you embrace manual shooting, it is essential to experiment and play with different variables. Don't shy away from taking risks; some of the best images often come from moments of exploration and spontaneity. Remember, every photograph is an opportunity to tell a story — your story. Embrace this freedom, and allow your imagination to guide your lens.
Encouragement for Continued Learning and Experimentation
Your journey in photography is just beginning. Each shot you take and each setting you change adds to your knowledge and skill set. Embrace the mindset of a lifelong learner. The world of photography is vast and ever-evolving, with new techniques, styles, and technologies emerging all the time. By staying curious and open to discovering new ideas, you can continue to grow as a photographer.
Joining workshops, online courses, or local photography groups can provide you with additional learning opportunities. Engaging with fellow photography enthusiasts allows you to share experiences, gain feedback, and discover new perspectives. Also, don’t forget about the power of online communities; platforms like Instagram and photography forums are excellent places to showcase your work and learn from others' journeys.
Consider setting personal projects or challenges for yourself. Perhaps you want to focus on a specific theme, such as portraits, nature, or street photography. This approach can help deepen your skills in a practical way while keeping your creativity alive. Remember that every photographer has encountered failures along the way; these failures are merely stepping stones toward growth. Embrace constructive critiques as they will only contribute to your development.
Photography is not just about taking pictures; it's about capturing life, moments, and emotions. As you master manual mode, remember that every click of your shutter is a reflection of your unique perspective. Be patient with yourself; mastery takes time, but the rewards of creative expression and the joy of capturing the world in your own way are well worth the effort.
“Photography is the story I fail to put into words.” – Destin Sparks
Final Thoughts
As you close this chapter of your photography journey, take a moment to appreciate how far you’ve come. The switch from auto to manual mode represents a significant milestone, marking the evolution of your skills and artistic expression. You have taken control of your photography journey, and as you continue to learn and experiment, the horizon of creative opportunities will only expand further.
So go forth, manual adventurer! Embrace the challenges, the lessons, and the joy of capturing your world. Your camera is a powerful tool, and with manual mode at your fingertips, your potential as a photographer is limitless. Keep shooting, keep learning, and most importantly, keep expressing yourself through the art of photography.
Embracing manual mode is more than just a technical skill—it's a gateway to expressing your unique artistic vision through photography. As you've journeyed through the complexities of aperture, shutter speed, and ISO, remember that each adjustment and decision brings you closer to mastering the art of capturing compelling images that truly speak.
But the journey doesn't stop here. Photography is an ever-evolving art form, and continual learning is key to staying inspired and enhancing your skills. Whether you're just starting out or looking to refine your techniques, there's always more to explore and create.

If you're eager to dive deeper and truly master your camera, I invite you to join our community of passionate photographers. Sign up for my one-on-one mentoring, participate in our hands-on classes, or join an immersive workshop. These opportunities are designed to help you hone your skills, learn new techniques, and connect with fellow photography enthusiasts.
Don't miss the chance to transform your photography and see the world through a new lens. Visit our [Workshops and Classes page] to learn more about upcoming sessions and how you can be a part of this exciting photographic journey. Whether it's capturing the delicate dance of light and shadow, or freezing a fleeting moment in time, your journey in manual mode is just beginning.
Embrace the manual adventure, and let your creativity flourish. Join us today and start capturing the world as only you can see it.
