By Giliane Mansfeldt
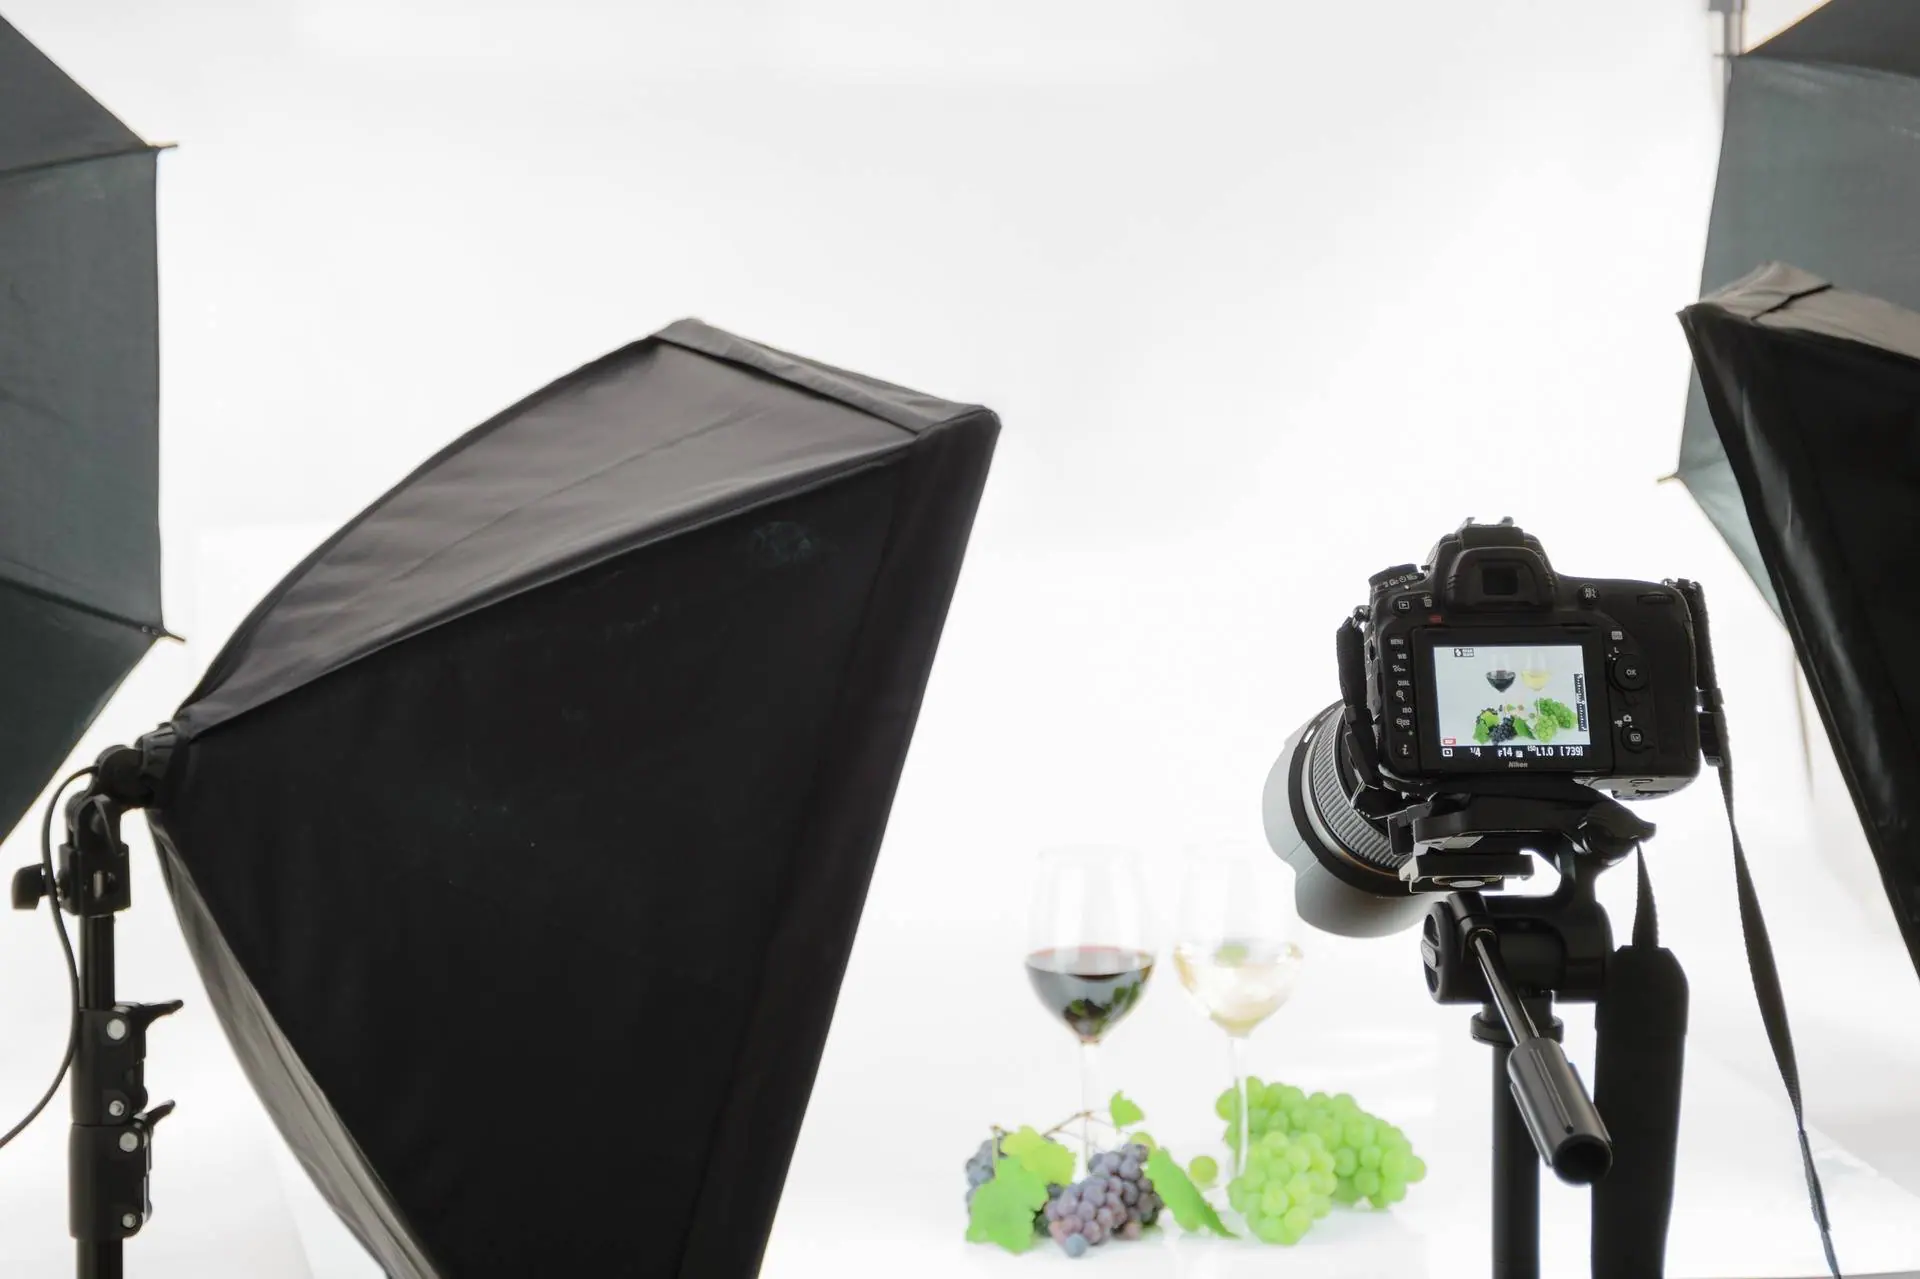
Light is one of the most important aspects of photography, both in terms of what you can see in the photo itself, and what kind of mood you want to evoke. It can be intimidating, especially when you don’t know what kind of light you want to use for what you’re intending to do. We can help you with the basics, and when you’re working on your own, you can find the exact setup that works for you!
Your lighting kit will depend both on the types of photographs you want to take, and on your budget. While it’s important to invest in quality equipment, keep in mind what you need from your kit, and what it will do for you.
The first light you should consider is most often known as your Key Light. It’s used to highlight the most important aspect of your subject. This is your most important light, and influences every other light you’re using (or, in some cases, not using). Generally, you’ll have this set up to illuminate the most important aspects of your subject.
Unless you’re going for a high-contrast type of shoot, you’ll want to have a secondary light source to fill in the shadows. This is achievable with something as simple as a reflector, which can bounce the key light back onto the other side of your subject, and bring up some of those shadows.
“Light is one of the most important aspects of photography,”
However, if you’re going for a two-light rig, you’ll need a Fill Light, which would be set up at an opposing angle to your key light. As with the reflector, this will help fill in the shadows. Be sure that this light is metered to an equal or lower level than your key light to ensure that depth remains in your subject and that your shadows are in the right places
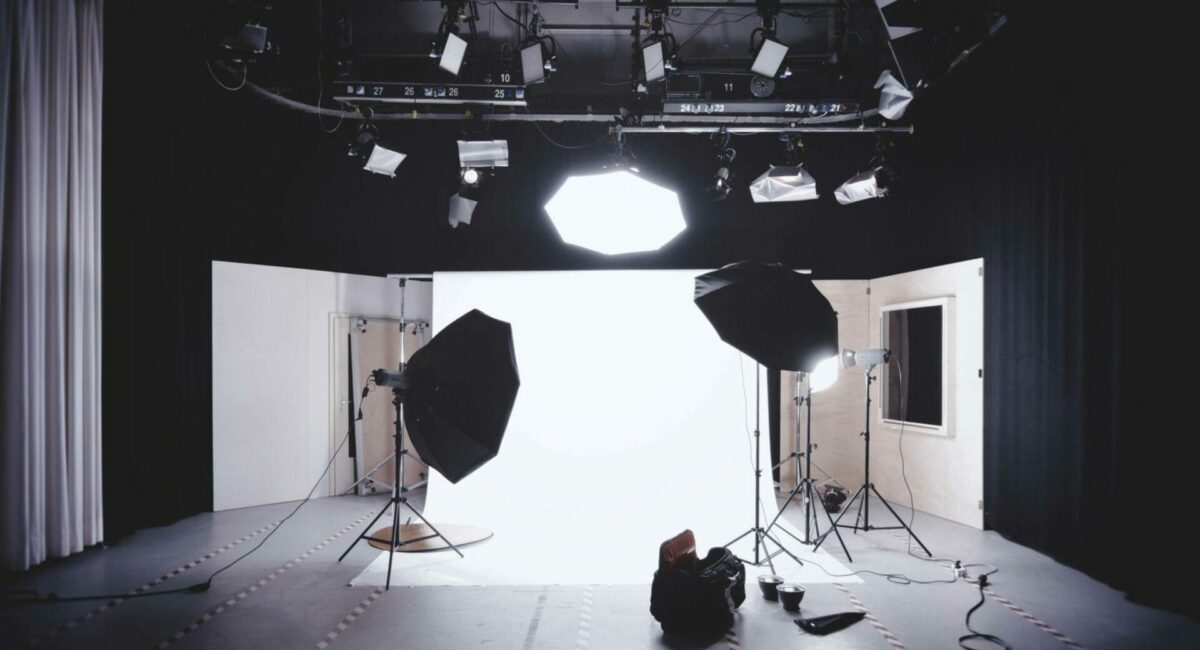
Additional lights to consider include background lights, and things like kicker lights (also known as rim lights). A background light is used, of course, when you have things in the background to light and when you need some light behind your subject. A kicker light, on the other hand, is used to highlight the edges of a subject—useful, for instance, when you have dark edges of a subject against a dark background.
When setting up, be sure to keep the positioning and strength of your lighting in mind. Depending on the type of shoot you’re doing, you may want to see more or less detail. How much do you need to see? Too bright, and you may end up washing out important details.
Hopefully this has given you some more information on types of studio lighting, and has given you some ideas of how you might want to set your lighting rig up. Starting can be easy, with just the key light and the reflector. Everything else can come as you gain confidence with lighting and the certainty that you need additional lights to make your vision happen!
