In the world of portrait photography, lighting is not just an element; it's the cornerstone that can make or break your images. With over twenty years in the field, I've seen how the right lighting can transform a portrait from mundane to sublime, from flat to dynamic. Now, I'm here to share the wisdom I've gained from countless shoots, guiding you to master lighting in all its forms.
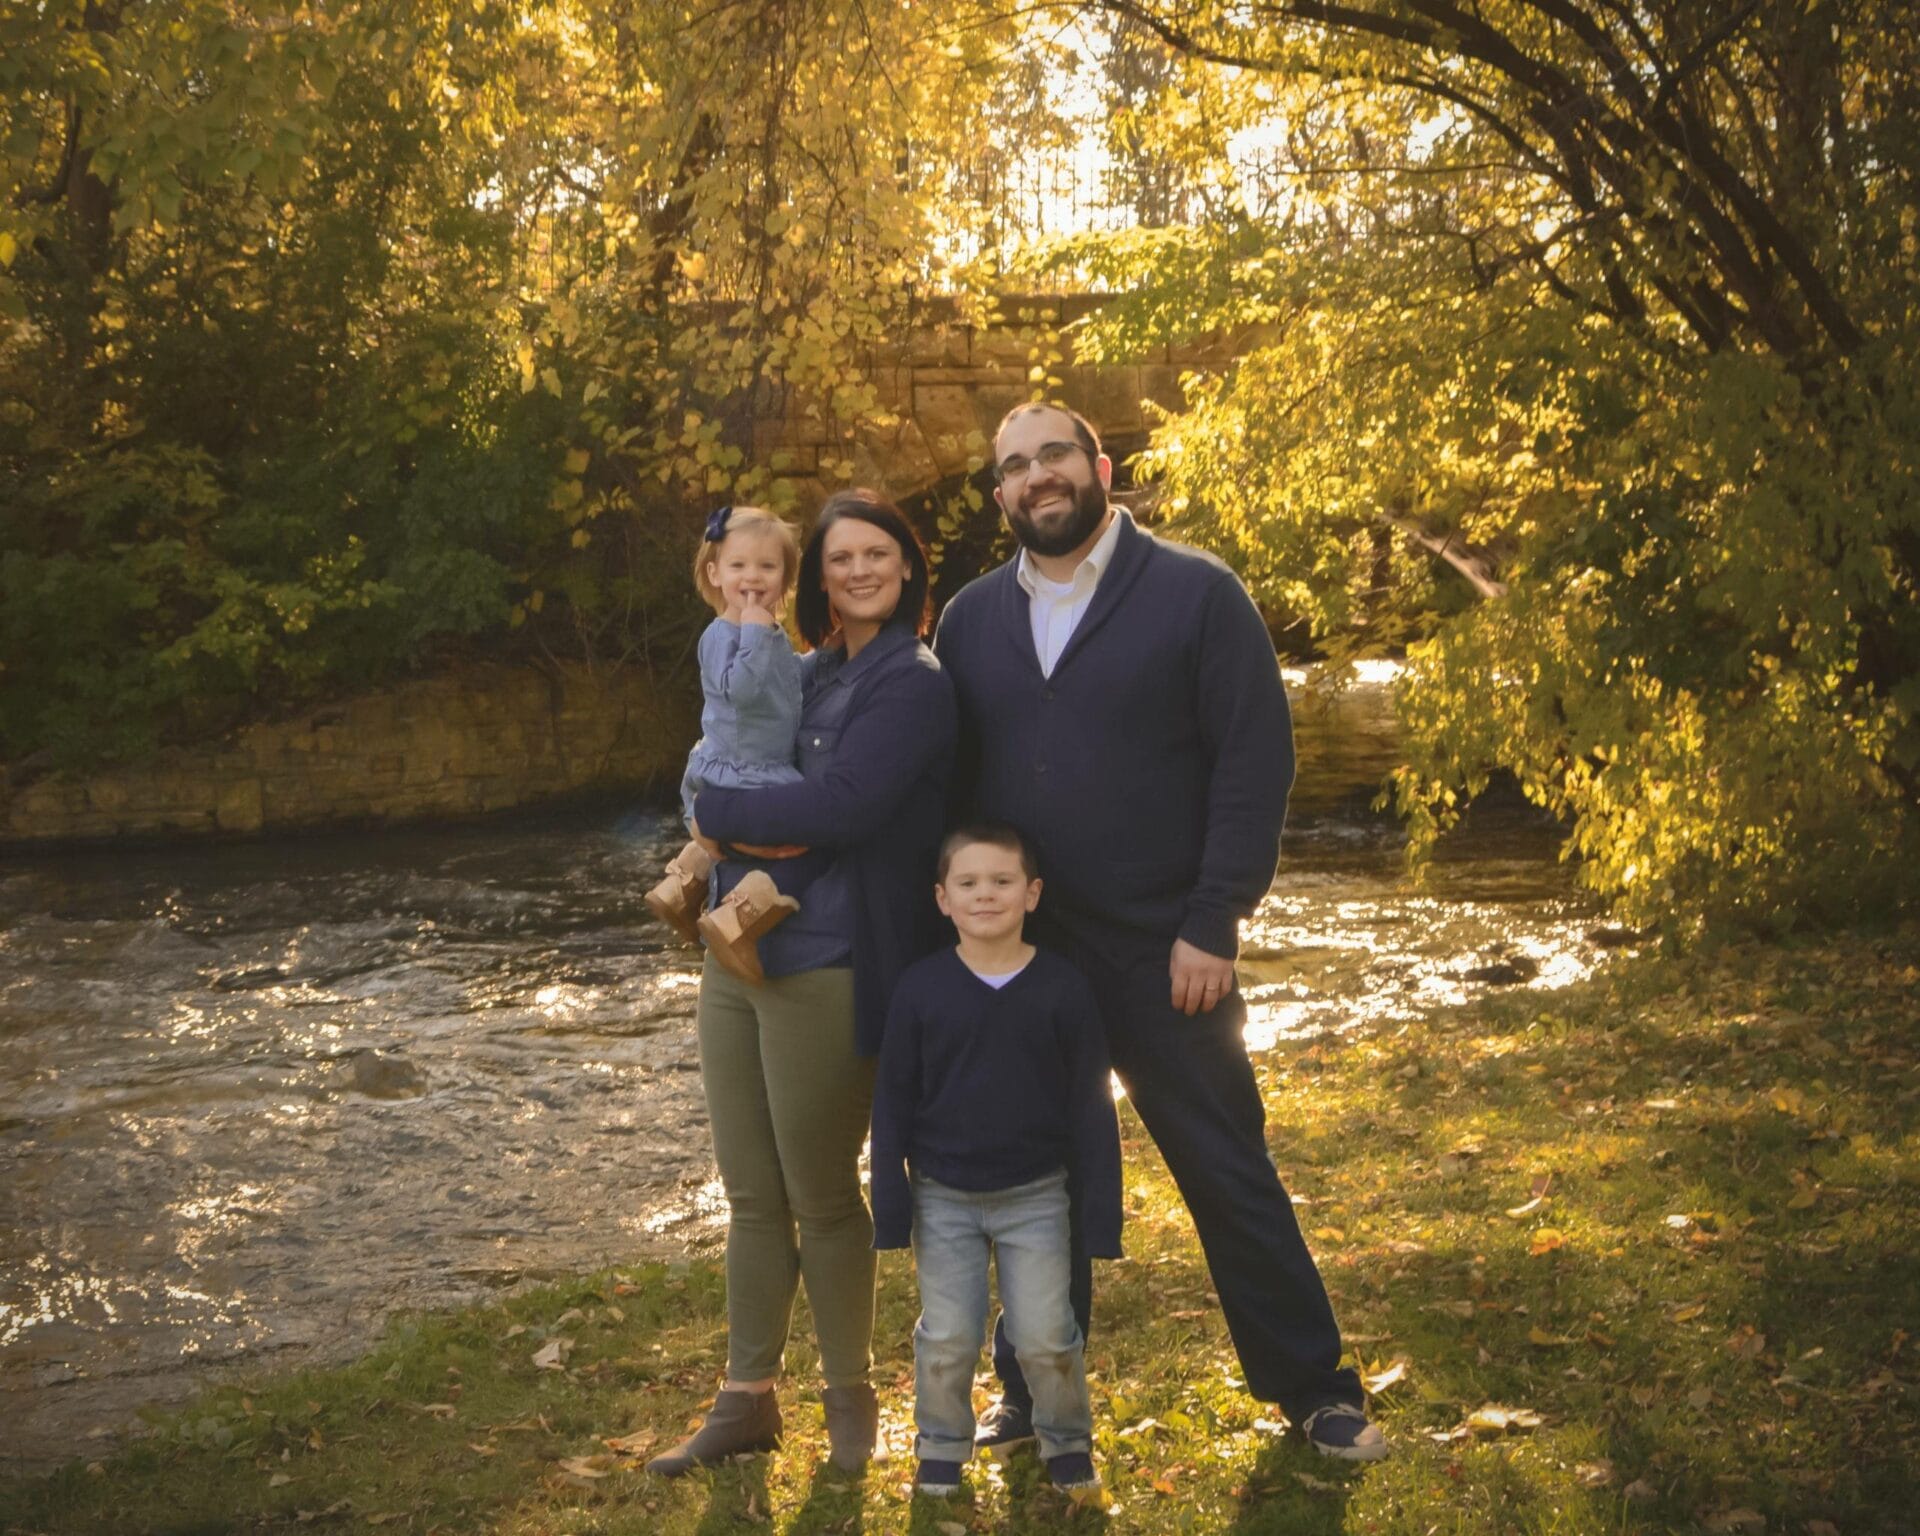
Natural light is a powerful ally, but to harness it, one must understand its nuances. On an overcast day in Saint Paul, the cloud cover acts as a giant softbox, eliminating harsh shadows and creating a flattering, soft light for subjects of all ages. I recall a session with a high school senior by the Chain of Lakes, where the diffuse light accentuated his features without creating distracting shadows, resulting in a set of images that were both striking and natural.
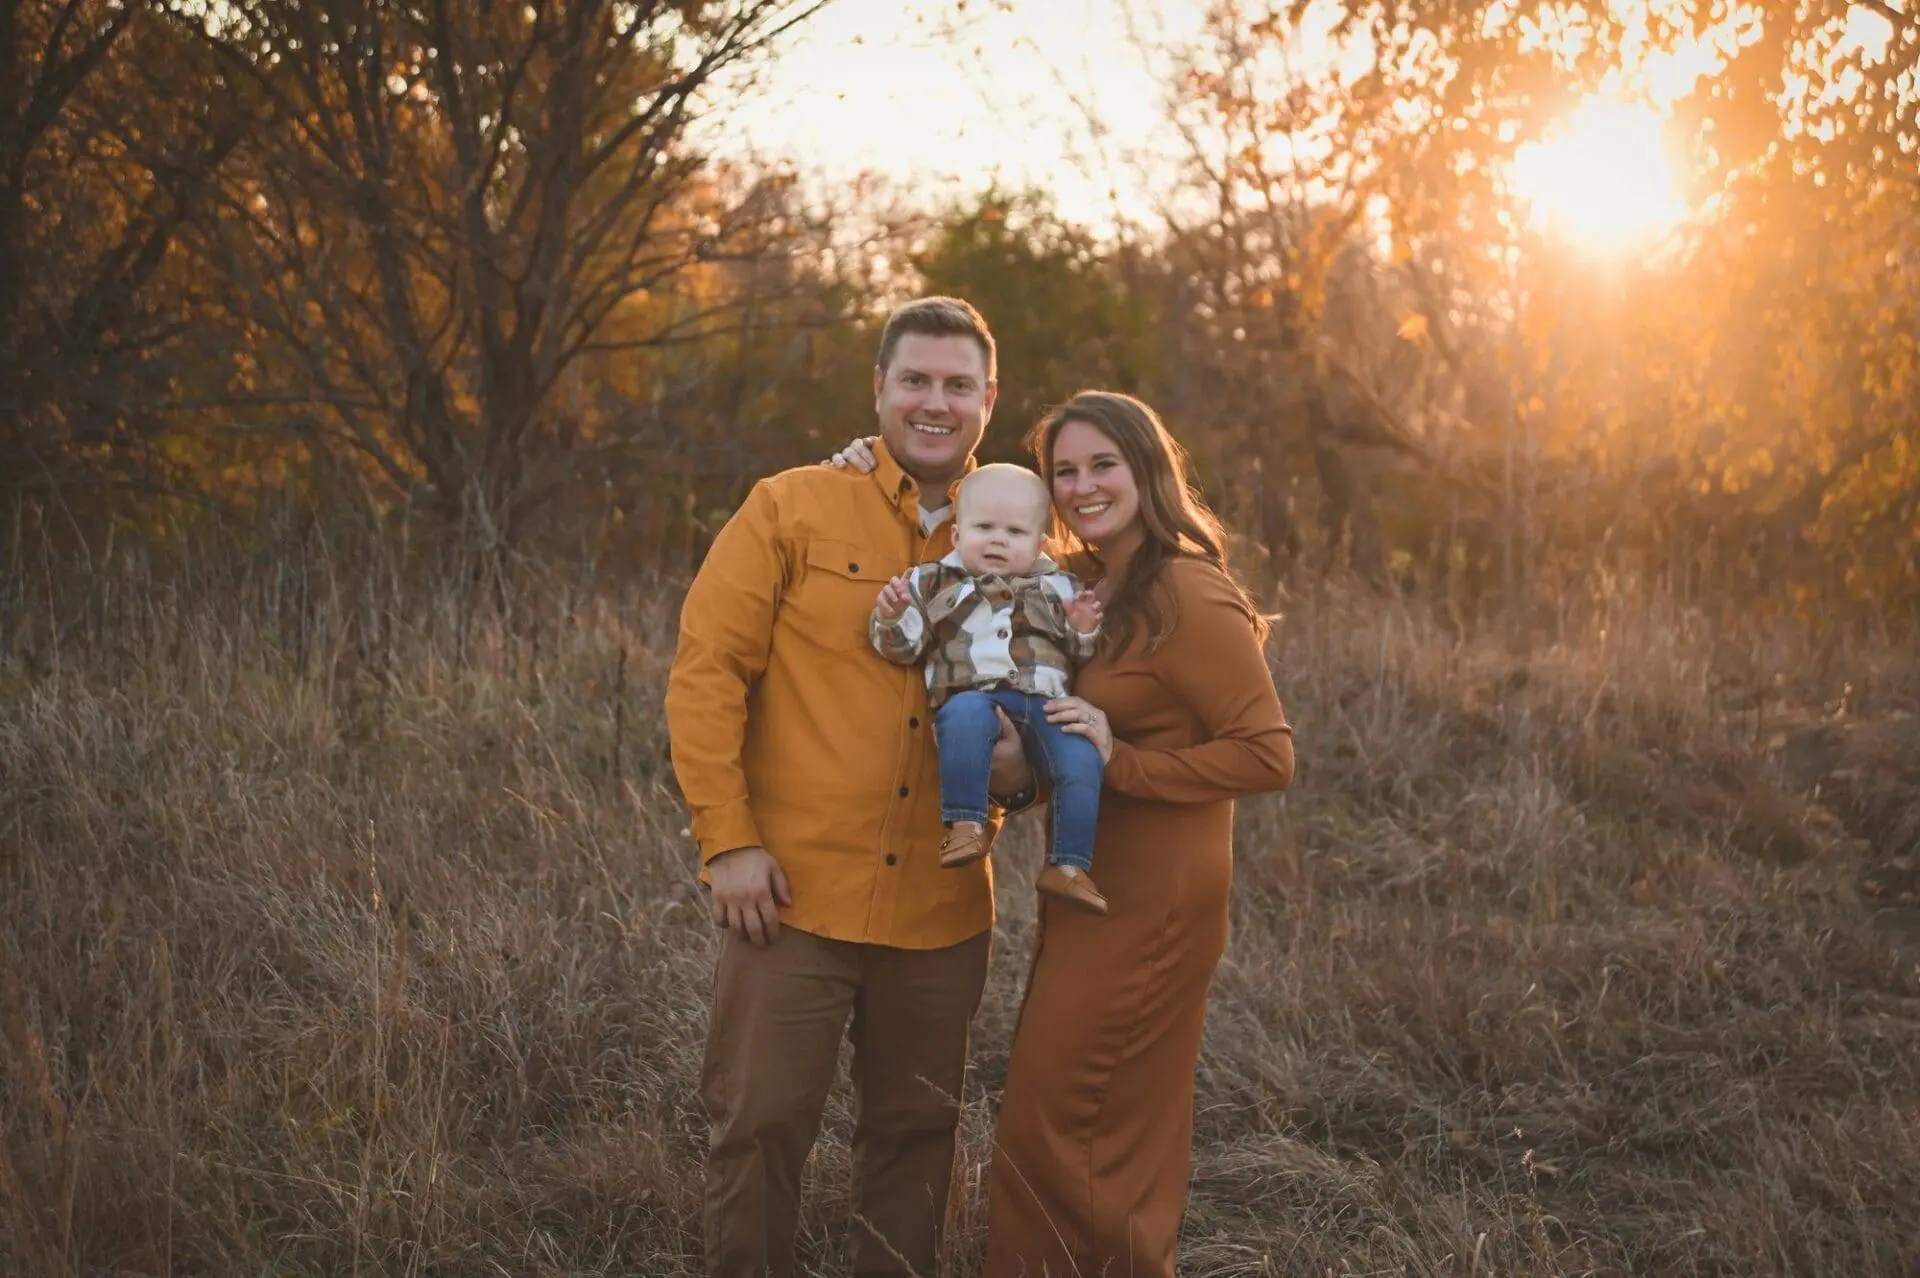
When it comes to the golden hour, the light is warm and directional, ideal for creating portraits with a warm, inviting tone. A family I photographed at this time along the Mississippi River benefited from the glow, which gave their skin a soft, luminous quality and added a magical touch to the overall scene.
The golden hour, also known as the magic hour, is a period shortly after sunrise or before sunset when the sun is low in the sky. During this time, the quality of light is warm, soft, and diffused, creating a beautiful and flattering glow that photographers love to capture.
There are several reasons why the golden hour is highly desirable for portrait photography:
Soft and Warm Light: The low angle of the sun during this time creates long shadows and a warm color temperature. This softens harsh lines on faces, reduces contrast, and adds a natural warmth to skin tones. The resulting images have a dreamy and ethereal quality that enhances the overall mood.
Directional Lighting: The directional nature of sunlight during the golden hour allows photographers to play with interesting compositions and create depth in their portraits. The side lighting can sculpt facial features beautifully by highlighting contours while adding dimension to the subject.
Golden Hour Glow: The warm tones of sunlight during this time can add a magical touch to your images. It creates an enchanting atmosphere that evokes feelings of romance, nostalgia, or tranquility. This glow can enhance landscapes as well as portraits by giving them an extra layer of beauty.
Flexibility in Location: Unlike shooting at midday when harsh overhead light can be challenging to work with, shooting during the golden hour opens up more possibilities for location choices. You can take advantage of stunning backdrops like open fields, beaches, cityscapes with beautiful skies or even shoot in wooded areas where rays of sunlight filter through trees.
Comfortable Shooting Conditions: Shooting during midday under intense sunlight can be uncomfortable for both you and your subjects due to squinting eyes and excessive heat exposure. However, during the golden hour, temperatures are usually cooler and more pleasant for everyone involved.
By understanding how to harness natural light during the golden hour effectively, you can elevate your portraits from ordinary to extraordinary. So, whether you're photographing families, couples, or individuals, make sure to schedule your sessions during this magical time of day for stunning results.
Tackling the Midday Sun
Shooting in direct midday sun requires strategic thinking. The key is to position subjects so the sun is behind them, creating a natural backlight that can be balanced with a reflector or fill flash. During a bridal portrait session at the Como Park Zoo & Conservatory, I used this technique to my advantage, resulting in beautifully backlit images that captured the bride's veil and dress against the vivid greenery without any of the harsh shadows that direct sunlight can produce.
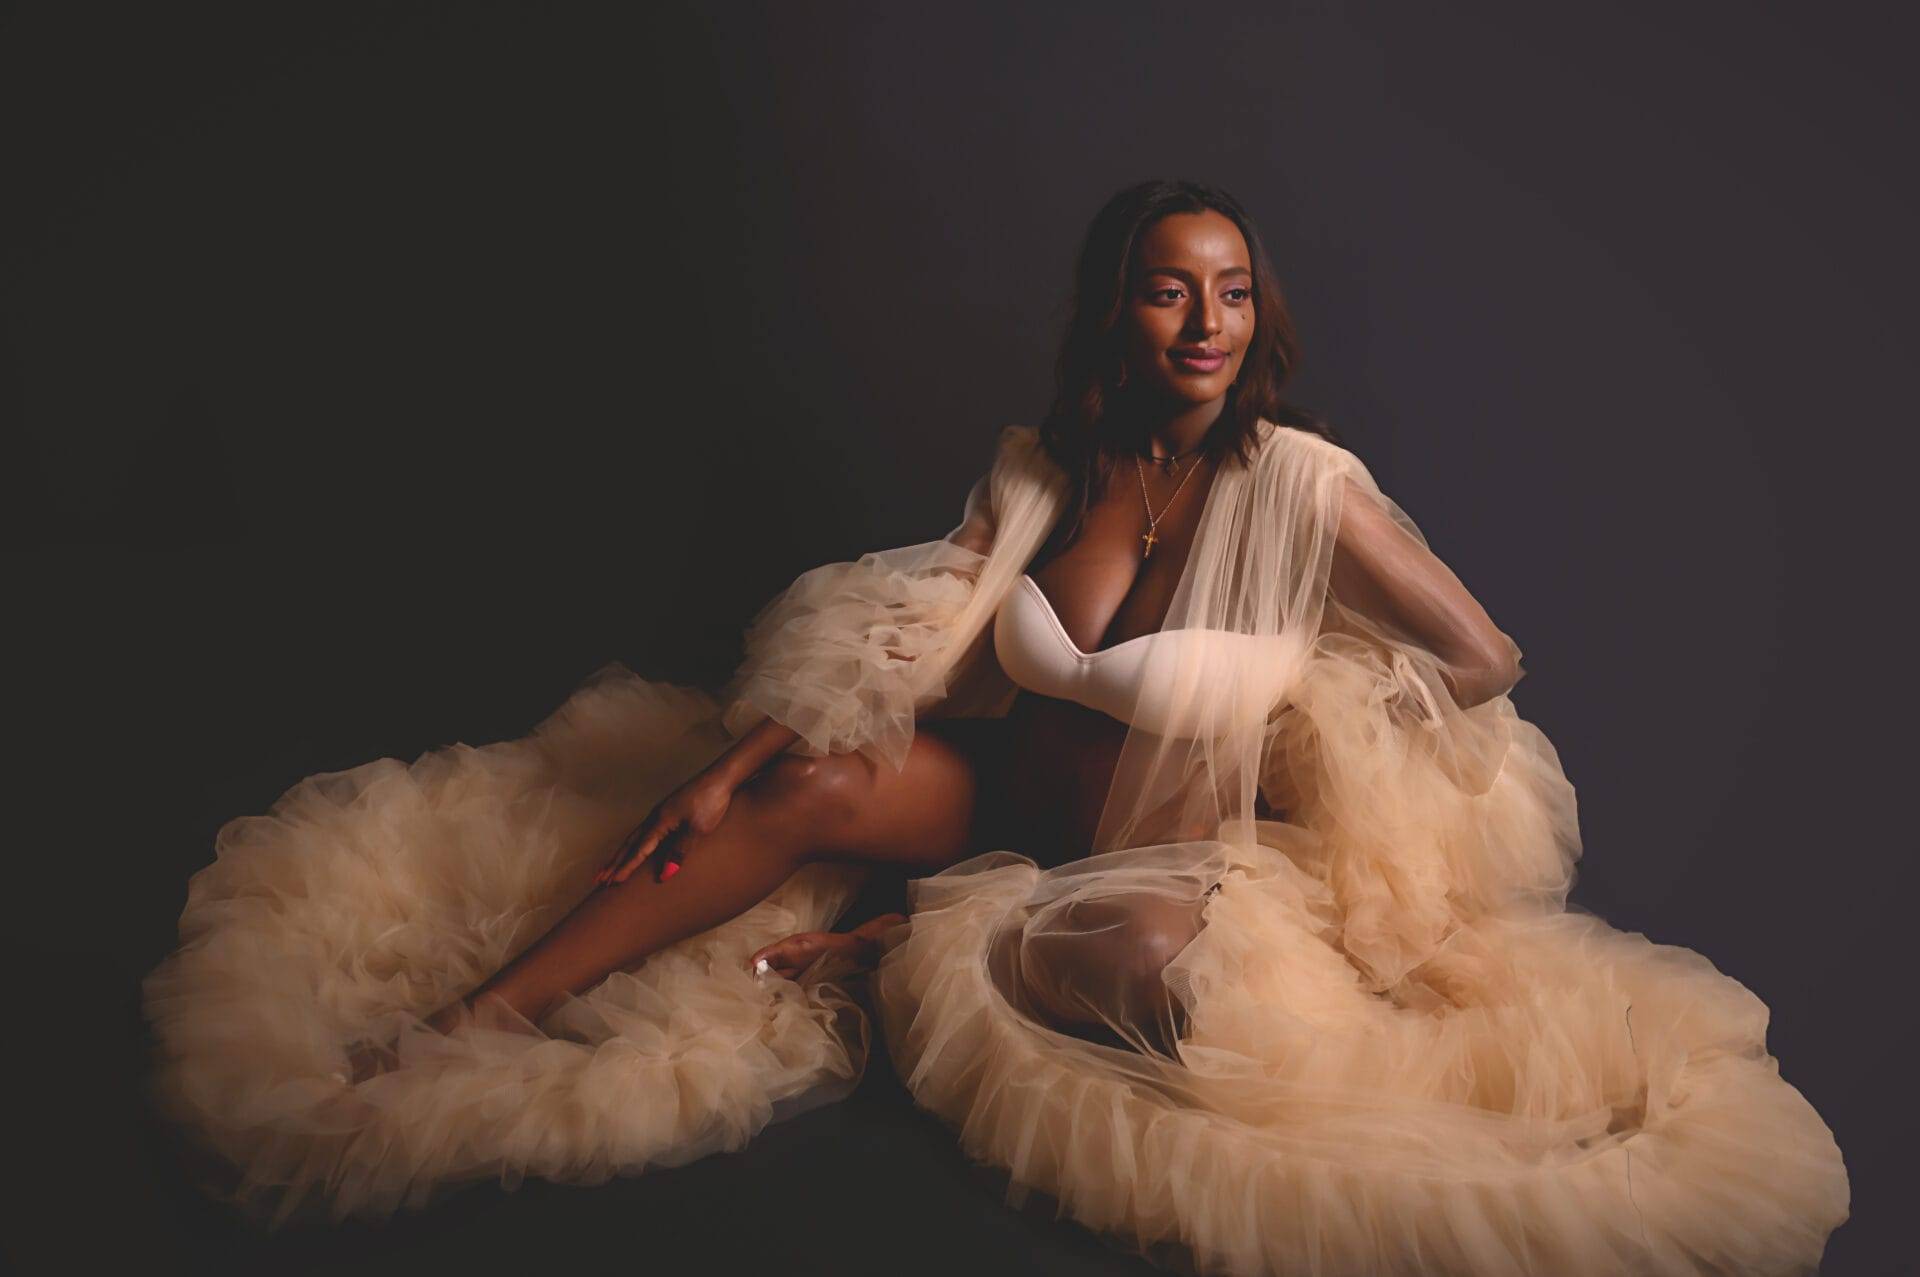
Studio Lighting: The Controlled Environment
In the studio, lighting becomes a blank canvas. Key lights are the primary source, sculpting the subject's features. A softbox can be your best friend here, providing a soft, even light that's flattering for all subjects. For example, while taking professional headshots for a local business executive, I positioned a large softbox close to her, creating a wraparound effect that highlighted her features against a dark background, conveying a sense of confidence and professionalism.
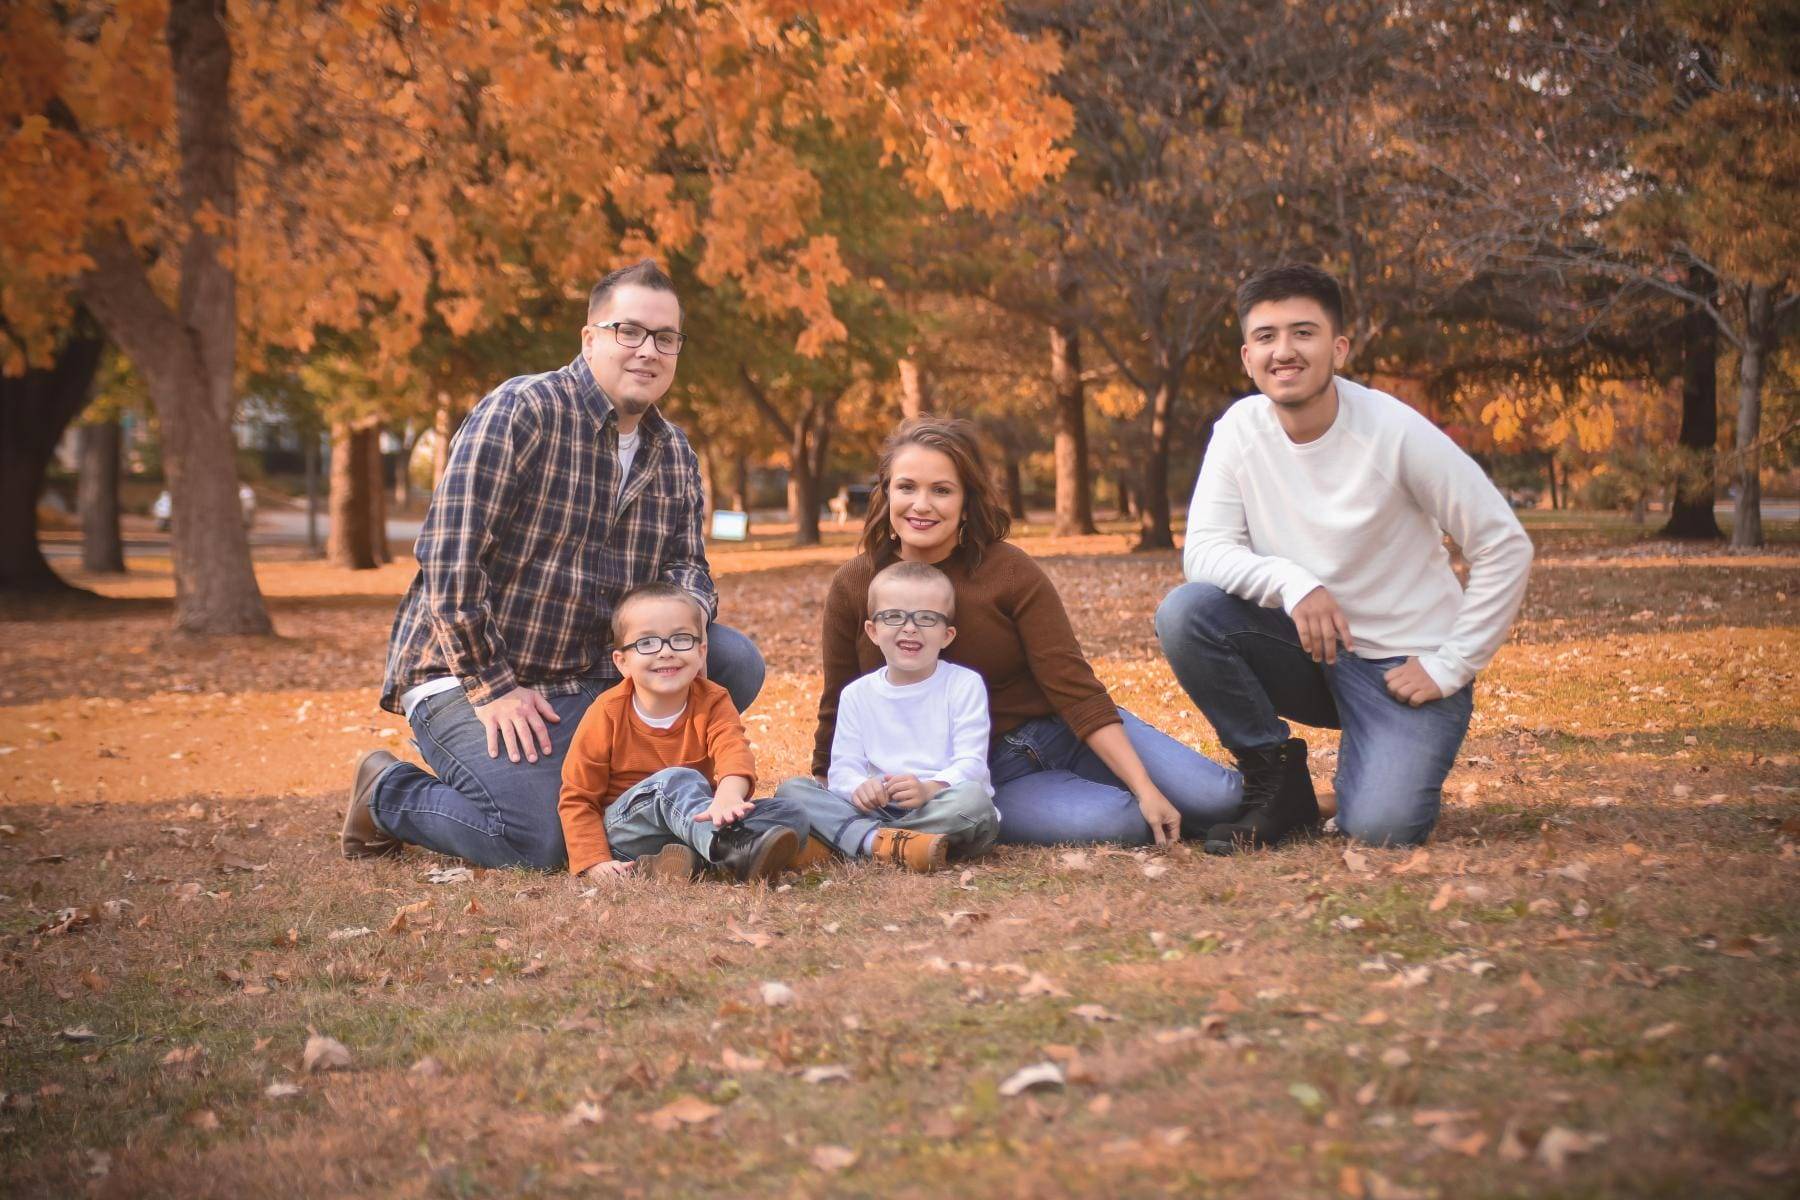
Fill lights help to control contrast and are especially useful in softening shadows. They don't have to be as powerful as the key light; even a simple white reflector can serve as an effective fill. In a family portrait session, I used a reflector to bounce light back onto the children's faces, ensuring that every smile and laugh was captured without deep shadows.
Backlights, or rim lights, help separate the subject from the background. During a creative session with a local musician, a backlight gave him a subtle edge that made him stand out from the dark backdrop, emphasizing his silhouette and adding depth to the image.
LED Lights: Modern Versatility
LED panels offer a modern solution with their adjustable color temperature and brightness. They're particularly useful in mixed lighting situations or when matching the ambient light is crucial. For instance, in a lifestyle shoot for a home goods store, I used LED panels to mimic the warm glow of sunset streaming through a window, which allowed the products and the models to be showcased in a natural, appealing setting.
Embracing Shadows for Dramatic Effect
Shadows have a reputation for being a portrait photographer's nemesis, but they're actually a tool for adding mood and dimension. By allowing shadows to fall across certain parts of the face or scene, you can create a sense of mystery or drama. I used this approach in a series of artist portraits, where strategic shadows conveyed a sense of introspection and artistic intensity.
Continuous Education at The Savvy Shutterbug
Lighting is a vast topic, and continuous education is key to staying on top of your game. At my photography school, The Savvy Shutterbug, we delve deep into lighting techniques, ensuring our students can confidently shape light to their will, whether in a studio setting or out in the wilds of Minnesota's varied landscapes.
The journey of mastering portrait photography lighting is continuous and ever-evolving. Each session is a new challenge, a new opportunity to paint with light in bold or subtle strokes. If you're eager to delve deeper and refine your skills in this critical area of photography, I welcome you to join our community of learners and enthusiasts.
For more guidance on lighting techniques and to keep up with the latest in portrait photography, subscribe to my blog. If you're looking to take a step further, consider enrolling at The Savvy Shutterbug, where we illuminate the path from hobbyist to professional with knowledge, practice, and a touch of creativity.
Subscribe to My Blog for regular insights, or discover more at the my savvy shutterbug podcast to take learn more or sign up for updates to my photography school.