Low light photography presents a unique set of challenges but mastering this skill can open up a world of creative possibilities. In this comprehensive guide, I'll delve into the importance of low light photography, the equipment and settings you need, essential techniques for shooting in low light, post-processing tips, creative approaches, practical advice, and more. Get ready to unlock the secrets of capturing mesmerizing images in challenging lighting conditions.
How to Shoot in Low Light Conditions
Welcome to my guide on mastering the art of low light photography. In this blog post, we will dive deep into the importance of shooting in low light situations and the common challenges photographers face under such conditions.
Importance of Mastering Low Light Photography
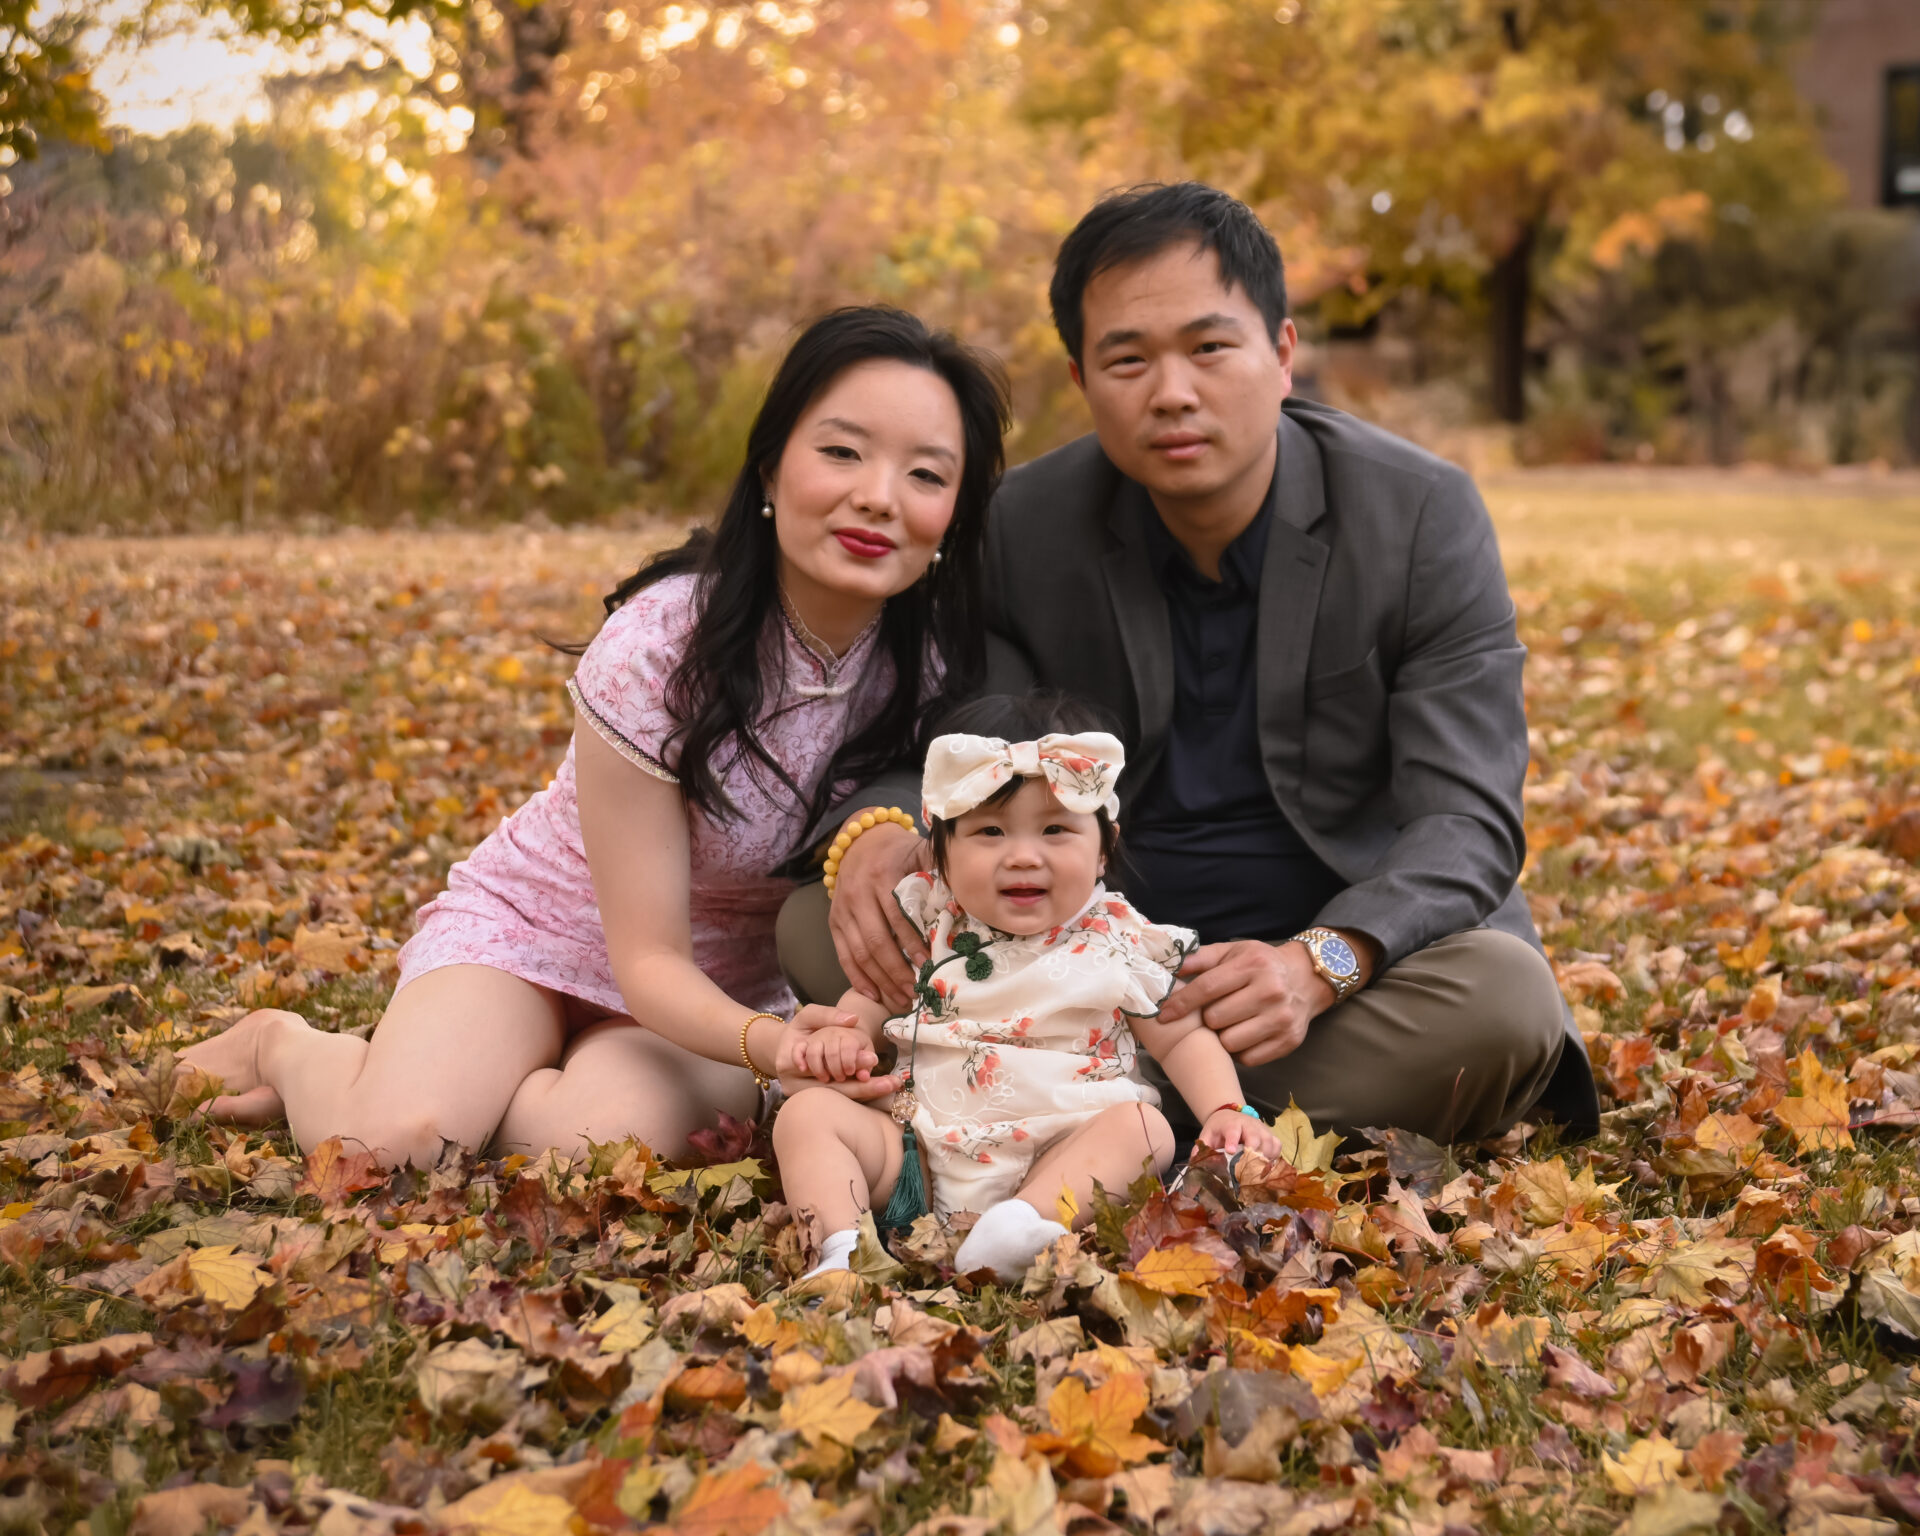
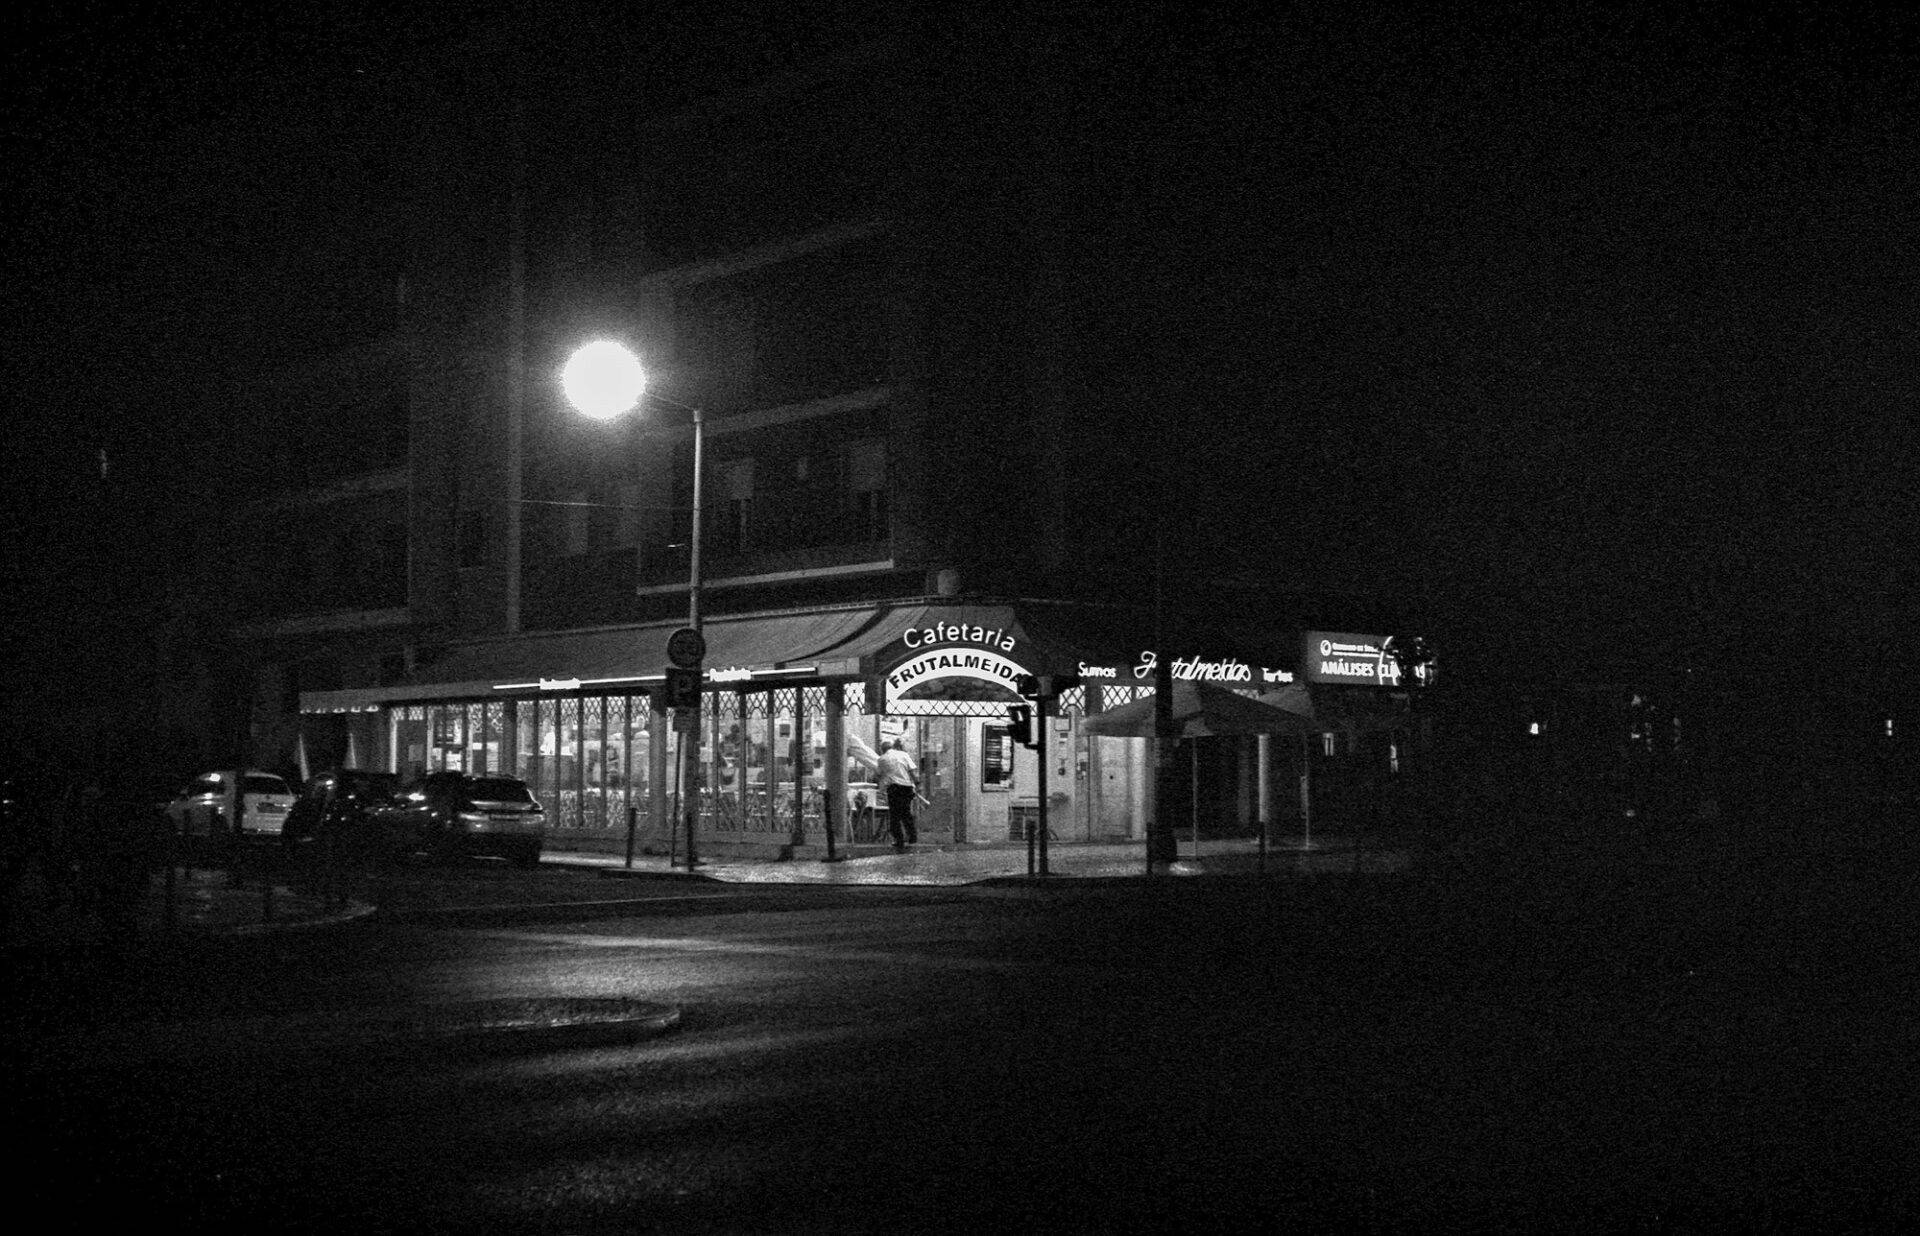
Low light photography presents a unique set of challenges and opportunities for creative expression. Mastering the skill of shooting in low light can significantly enhance your photography portfolio and expand your creative possibilities. Whether you are capturing the vibrant nightlife of a city or the intimate moments of a candlelit dinner, being able to handle low light conditions effectively can set your photos apart.
Common Challenges Faced in Low Light Conditions
One of the most common challenges in low light photography is dealing with limited available light. This can lead to issues such as noise, underexposure, and motion blur in your images. Additionally, achieving accurate focus can be tricky in low light, as autofocus systems may struggle to lock onto subjects in dimly lit environments.
Furthermore, managing white balance to ensure natural-looking colors can be challenging when faced with a mix of artificial and ambient lighting sources. Understanding and overcoming these challenges is essential for capturing stunning images in low light.
Throughout this guide, we will explore various techniques, equipment recommendations, and post-processing tips to help you navigate and excel in low light photography. So, let's embark on this exciting journey of capturing the magic of low light scenes!
Equipment and Settings
When it comes to capturing stunning photos, the right equipment and settings play a crucial role in achieving the desired results. Let's dive into the essential gear and camera settings that can elevate your photography game, especially in challenging low light conditions.
Cameras and Lenses
Choosing the right camera and lenses can greatly impact the quality of your low light shots. The debate between full-frame cameras and crop sensors is ongoing. Full-frame sensors generally offer better low light performance and dynamic range, while crop sensors provide reach and can be more budget-friendly.
Fast lenses with wide apertures, such as f/1.8 or f/1.4, are a game-changer in low light photography. These lenses allow more light to enter the camera, resulting in brighter images and beautiful bokeh effects. When deciding between prime and zoom lenses, consider the flexibility of zoom lenses versus the superior image quality of prime lenses.
Camera Settings
Understanding and mastering your camera settings is essential for low light photography. Let's break down the key settings that influence your final image:
- ISO: Balancing sensitivity and noise is crucial in low light conditions. Increasing the ISO makes your camera more light-sensitive but can introduce noise. Finding the right ISO setting for the lighting conditions is crucial.
- Aperture: Wide apertures, represented by lower f-stops, allow more light to reach the sensor. Experimenting with different apertures can help you achieve the desired depth of field and brightness in your photos.
- Shutter Speed: Controlling the shutter speed is vital for managing motion blur and achieving sharp images. In low light, slower shutter speeds may be necessary, but be mindful of camera shake. Consider using a tripod for stability.
- White Balance: Adjusting the white balance ensures that colors appear natural in your photos, especially under different lighting conditions. Customizing the white balance setting can help you achieve accurate color rendition.
By mastering these camera settings and selecting the right equipment, you can enhance your low light photography skills and capture stunning images even in challenging lighting scenarios.
Techniques for Shooting in Low Light
When it comes to capturing images in low light situations, having the right techniques at your disposal is crucial. Let's dive into some effective methods to enhance your low light photography game.
Stabilization
One of the key challenges in low light photography is maintaining stability to prevent blurry images. Investing in a reliable tripod or monopod can significantly improve the sharpness of your shots. Additionally, many cameras and lenses come equipped with image stabilization features that help compensate for shaky hands. If you find yourself without a tripod, look for stable surfaces like a railing or a flat rock to steady your camera.
Focusing
Choosing between manual and autofocus is a decision that can impact the outcome of your low light images. In dimly lit environments, autofocus may struggle to lock onto subjects accurately. Consider using manual focus for more control over where your camera focuses. Utilizing features like focus peaking or live view can assist in achieving sharp focus in challenging lighting conditions. Another technique to explore is pre-focusing your lens on a specific point before capturing the shot.
Light Management
The key to successful low light photography often lies in effectively managing available light sources. Look for opportunities to make the most of ambient light such as streetlights or candles to illuminate your subjects naturally. If additional light is needed, experiment with artificial sources like flashes or LED panels to enhance the scene. Reflectors and diffusers can also be used to control and manipulate the quality of light falling on your subject.
By incorporating these techniques into your low light photography workflow, you can overcome the challenges posed by dimly lit environments and capture stunning images with confidence.
Post-Processing Tips
When it comes to photography, capturing the perfect shot is just the beginning. Post-processing plays a crucial role in enhancing the quality of your images. Let's dive into some essential post-processing tips that can help elevate your photography game.
Noise Reduction
- Software Tools: One of the first things to tackle in post-processing is noise reduction. Software tools like Adobe Lightroom and DxO PhotoLab offer effective solutions for reducing noise in your images.
- Balancing Noise Reduction: While it's important to eliminate noise, it's equally crucial to maintain image sharpness. Finding the right balance between noise reduction and preserving details is key.
Enhancing Exposure
- Adjusting Exposure: Fine-tuning the exposure of your photos can significantly impact their overall look. Playing with exposure settings can help correct underexposed or overexposed images.
- Shadow and Highlight Recovery: Post-processing tools allow you to recover details from shadowed areas and highlights, bringing balance and depth to your photos.
Color Correction
- Correcting White Balance: White balance issues can cause color casts in your photos. By adjusting the white balance during post-processing, you can ensure that colors appear natural and accurate.
- Enhancing Colors: Post-processing opens up opportunities to make colors pop and appear more vibrant. Enhancing colors can breathe life into your images and make them visually appealing.
Mastering post-processing techniques is a valuable skill that can take your photography to the next level. Whether you're reducing noise, fine-tuning exposure, or correcting colors, the process allows you to refine and polish your images for maximum impact.
Creative Approaches
When it comes to photography, exploring creative approaches can truly elevate your images to a whole new level. In this section, I will share some exciting techniques that you can experiment with to add a unique touch to your photos.
Long Exposure Photography
Long exposure photography offers a captivating way to capture movement and light in a single frame. By using this technique, you can create mesmerizing light trails that add a sense of dynamism and energy to static scenes. To achieve stunning long exposure shots, consider investing in neutral density filters. These handy tools help control the amount of light entering your lens, allowing for longer exposure times even in bright conditions.
High Dynamic Range (HDR)
HDR photography involves merging multiple exposures of the same scene to achieve a greater dynamic range of light and detail. This technique is especially useful in high-contrast situations where balancing highlights and shadows can be challenging. By combining different exposures and using specialized software tools, you can produce images that are rich in tonal range and visual impact.
Experimenting with Light Sources
Playing with light sources can open up a world of creative possibilities in photography. From light painting to using unconventional light and shadow patterns, there are numerous ways to add a touch of magic to your photos. Embrace the art of light painting by incorporating moving light sources into your long exposure shots for whimsical and dreamy effects. Additionally, be daring in your use of light and shadow to create visually captivating compositions that challenge traditional notions of illumination.
Exploring these creative approaches not only expands your technical skills but also encourages you to see the world through a more imaginative lens. By incorporating techniques like long exposure photography, HDR, and experimenting with light sources into your repertoire, you can transform ordinary scenes into extraordinary works of art. So, grab your camera and embark on a journey of discovery and innovation!
Practical Tips and Best Practices
When it comes to photography, shooting in low light conditions can be a real challenge. However, with the right techniques and equipment, it is possible to capture stunning images even when the lighting is less than ideal. In this section, I'll share some practical tips and best practices to help you make the most out of shooting in low light.
Planning your Shoot and Scouting Locations
One of the key aspects of shooting in low light is planning ahead. Before heading out for a photoshoot, take some time to scout locations during the day. Look for interesting backgrounds, potential light sources, and captivating compositions. Planning your shoot in advance will save you time and help you make the most of the limited light available.
Being Patient and Experimenting with Settings
Patience is essential when shooting in low light conditions. It may take several attempts to get the perfect shot, so don't get discouraged if your first few photos don't turn out as expected. Experiment with different camera settings, such as ISO, aperture, and shutter speed, to find the right combination for the lighting conditions. Remember, practice makes perfect!
Keeping Spare Batteries and Memory Cards
There's nothing worse than running out of battery or storage space in the middle of a photoshoot, especially in low light where every shot counts. Always carry spare batteries and memory cards to avoid missing out on capturing that perfect moment. It's a simple yet crucial step that can save you from frustration and disappointment.
Conclusion
Hey there! As we come to the end of our journey on mastering low light photography, let's take a moment to recap some key points and chat about why it's essential to keep practicing and experimenting with your low light shots.
First off, we've covered a lot of ground discussing everything from the right equipment and camera settings to techniques for shooting in challenging low light conditions. Remember the importance of using fast lenses with wide apertures, balancing ISO settings, and managing shutter speed for stability.
When it comes to techniques, don't forget about stabilization using tripods or monopods, experimenting with different focusing methods, and making the most of available light sources along with creative approaches such as long exposure photography and HDR.
Post-processing is also a crucial part of the process, and we've touched on tips for noise reduction, exposure enhancement, and color correction to elevate your low light images to the next level.
As you continue your low light photography journey, I encourage you to keep practicing, exploring new techniques, and pushing your creative boundaries. The more you experiment, the more you'll learn and grow as a photographer in low light conditions.
So, grab your camera, step into the magical realm of low light photography, and unleash your creativity. Remember, there's no right or wrong way to capture the beauty of low light; it's all about your unique perspective and artistic vision.
Keep clicking, keep learning, and keep shining bright in the world of low light photography!